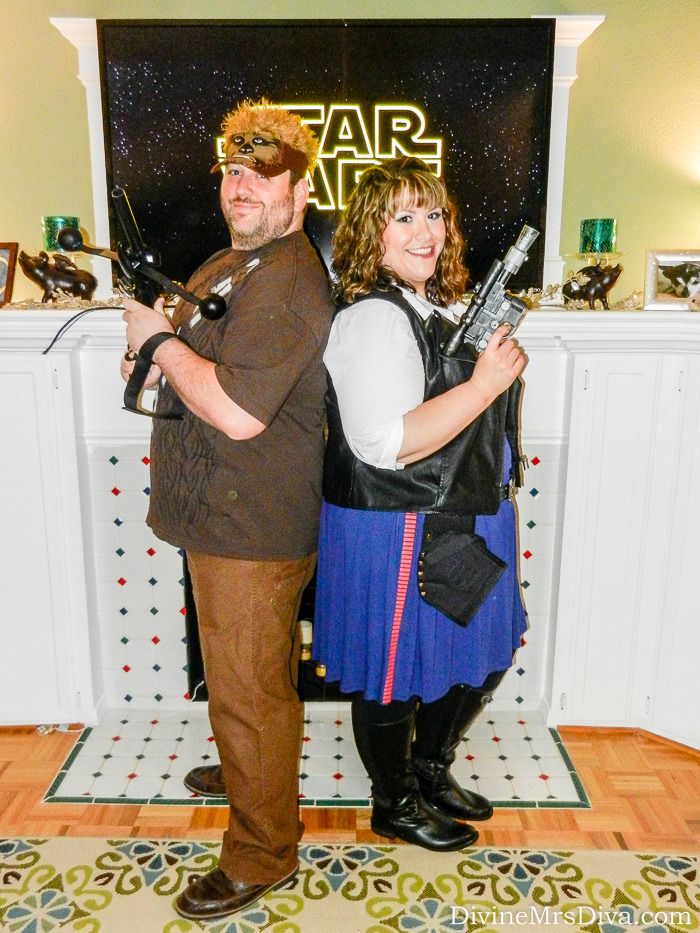
Hello, everyone! Welcome to November! I hope you all had a great weekend and festive Halloween. If you follow me on Instagram, you already know I spent last week working on my costume and that I went as Han Solo. I LOVED my costume and was so excited to finally wear it. It has been in my head for quite a while, so it was great for all the pieces to finally come together.
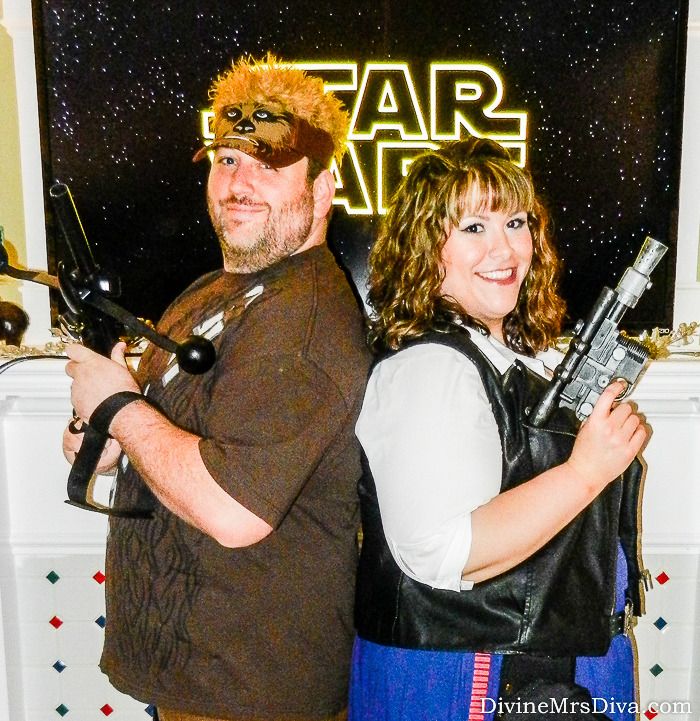
Initially, I wanted to make this costume because the cute Han dress from Her Universe doesn't come in my size. That bummed me out greatly. So I decided to take my frown and turn it upside down by putting together my own look. In today's post, I'll talk about the elements of my costume, walk you through painting a realistic-looking blaster gun, and show you some photos from the Halloween party I attended with my hunky Chewbacca.
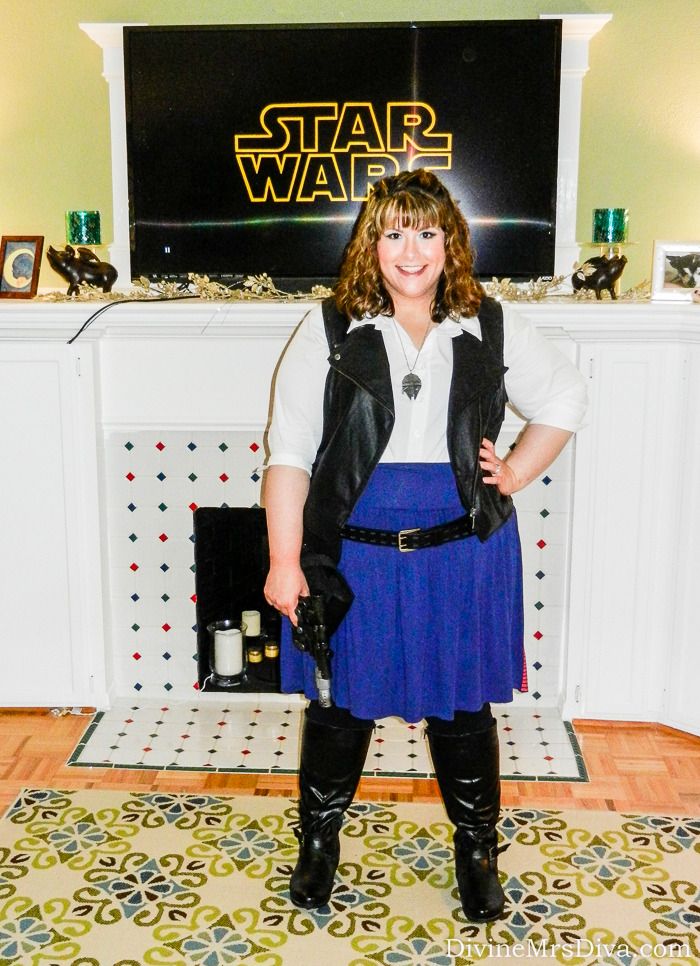
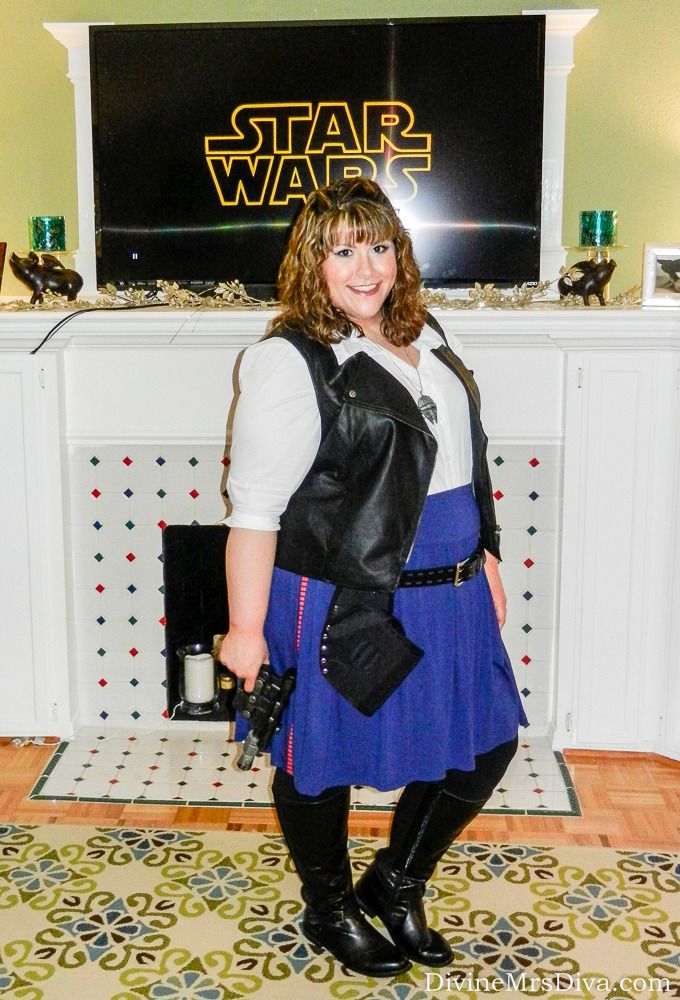
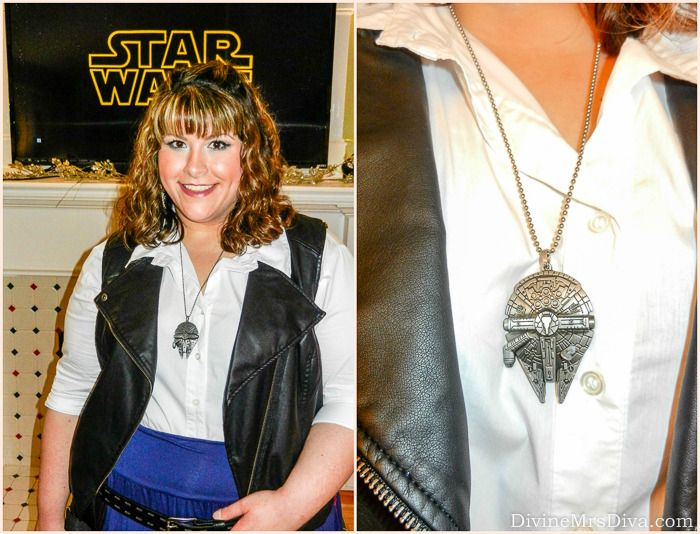
The leggings, boots, white button-down, and vest were all regular wardrobe items. When I decided to go for this look, I thought finding the skirt would be the hardest part. I looked at a few normal clothing sites as I was seeking out a skirt in this particular shade of blue. Certainly, you can make your own skirt if you are feeling up to it, but I didn't really want to take the time to do that. Eventually, I found this Lane Bryant flippy skirt on eBay in a size or two larger than what I needed.
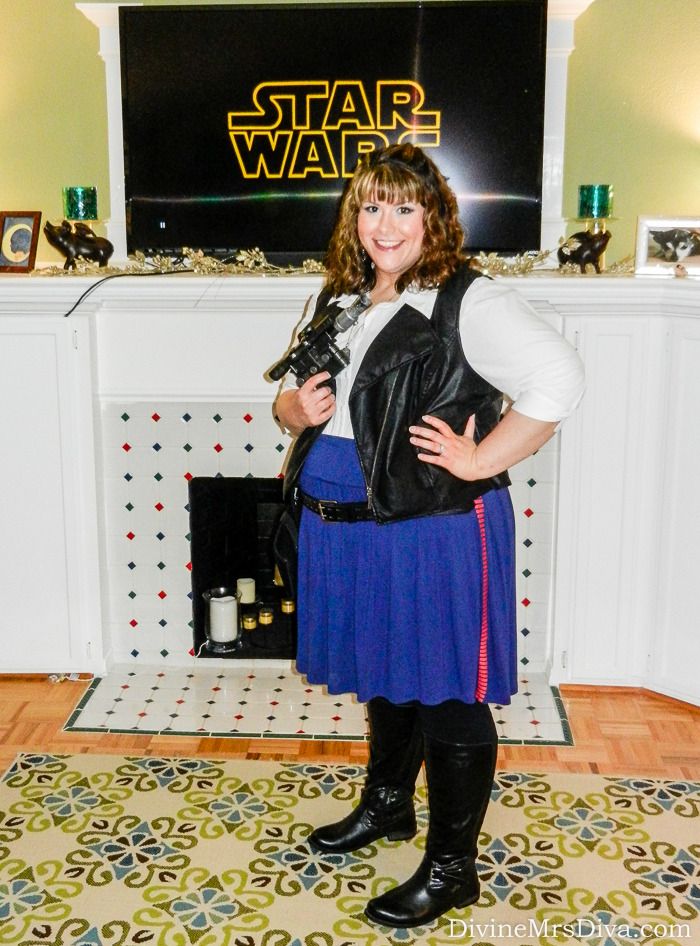
A quick hem on both sides (I took about six inches off total) and I was ready to get cracking on the stripes. I bought a roll of red duct tape thinking it would be sticky enough for me to make my own stripes for the skirt. However, duct tape is not very sticky on fabric. It was peeling right off. I caved and bought the iron-on stripes (also from eBay), which were easy to apply and look really great.
I wasn't aiming for total authentic-looking cosplay here, so I decided to forego searching for a brown belt and holster (or making my own, which you totally can do) and instead aimed for things that would look good as a whole and fit my body. For an actual holster, a cordless drill holster was large enough to accommodate the large body of the gun and look more proportioned to my body. After searching a couple home improvement stores, I couldn't find a holster that had the right look and price. I opted for a cheap one from Amazon that had minimal writing on it. I used a black Sharpie and black fabric paint to cover the brand name. Also, as someone with 59" hips, it was really hard to find a belt large enough to have it hang to the side a bit. The one I purchased from Amazon said it was 60", but it is way larger than I imagined and gave me plenty of room to work with.
I'll talk about the blaster and painting it farther down in this post, but I am really happy with how it turned out. I also bought this Millennium Falcon key chain and made it into a necklace with a chain I already owned. This particular key chain was larger and way less expensive than the actual Millennium Falcon jewelry I saw online. I added some star earrings I already owned as well, but I don't think they actually show up in any of these photos.
Han Solo Costume
- White or cream button down - Torrid (similar, similar, similar)
- Black vest - Lane Bryant (similar, similar, similar)
- Black Leggings - Lane Bryant (similar, similar, similar)
- Black Boots - Avenue (similar, similar, similar)
- Blue Skirt - Lane Bryant via eBay (similar, similar, similar)
- Red Bloodstripes - eBay
- Belt - Amazon
- Holster - Amazon (You will also need black fabric paint to cover brand name)
- Blaster Gun - Amazon
- Millennium Falcon key chain - Amazon
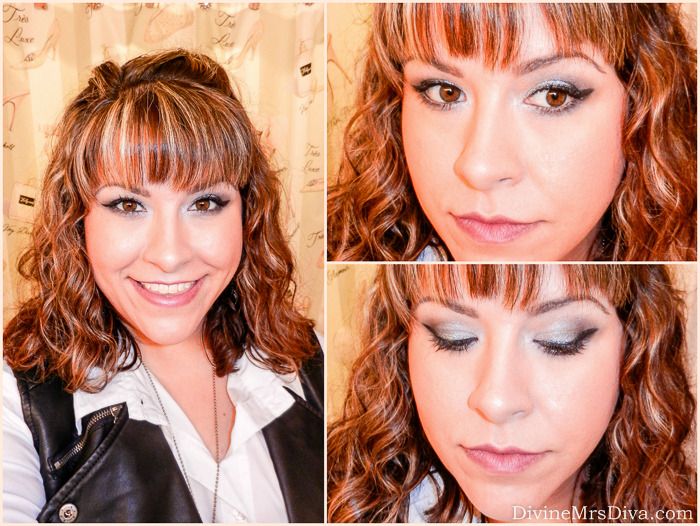
I was going to keep it really simple and natural for the makeup, but it quickly snowballed into something else. I figured since it was Halloween, I needed glitter - lots of glitter. So I smoked out a dark blue in the corners (Makeup Geek Nautica), hit my lids with some silver (MUFE Steel) , and winged out a gel liner along the lash line (Smashbox Jet Set Waterproof Liner). I placed Urban Decay's Heavy Metal Liner in Spandex over the gel liner and pressed the Lorac 3D Liquid Lustre all over the lid. A warm blush (Quarters by Colourpop) and neutral lip (Contempo by Colourpop) finished the look.
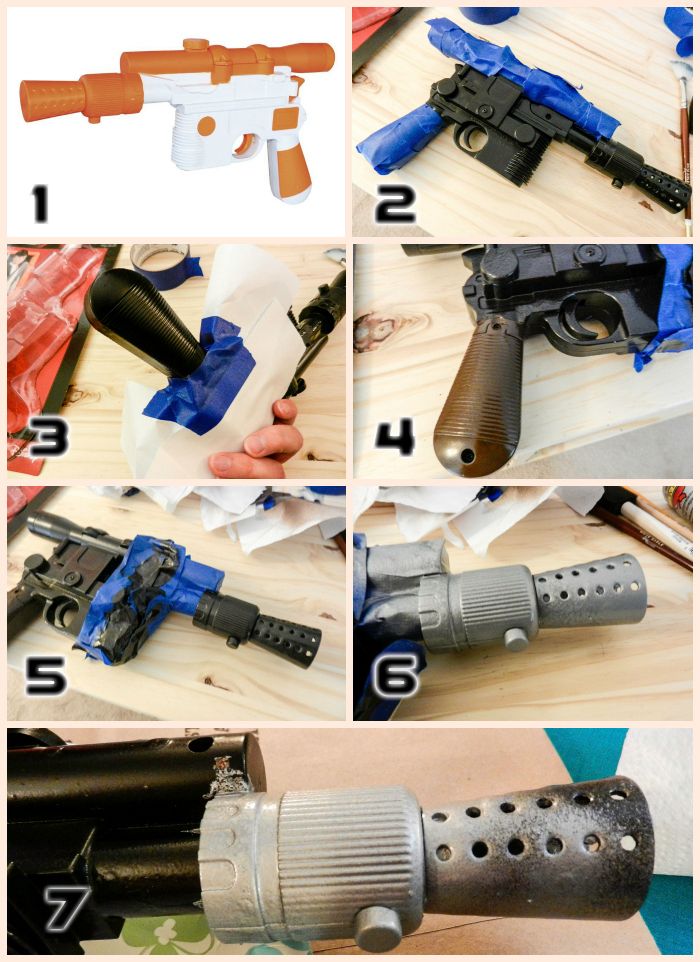
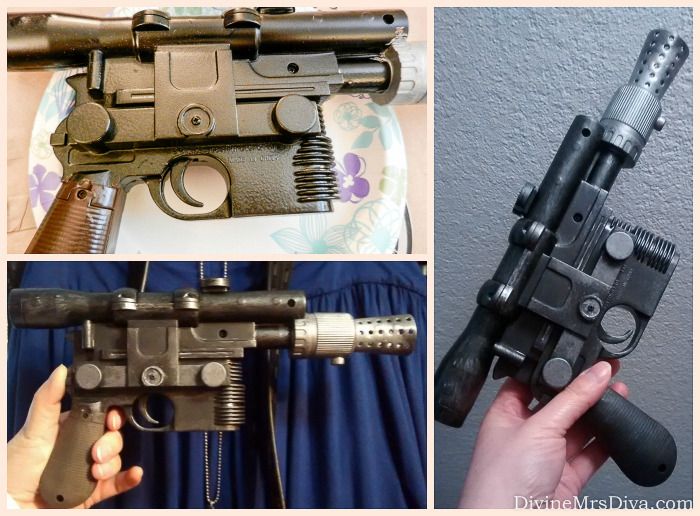
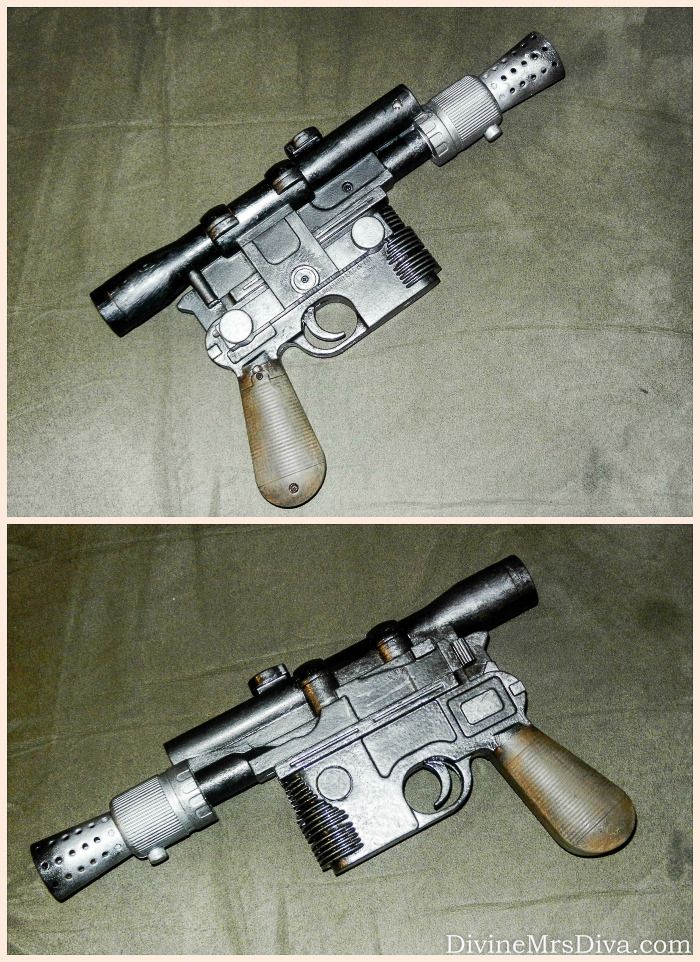
As I stated above, I painted the Blaster to look more like the movie gun. It was originally a white and neon orange toy. Different places have rules about what toy/cosplay guns are supposed to look like in order to take them to a convention or what not (i.e it can't look like a real weapon for the most part), so do some research if you are looking to use it for something like that. Before we get started, I will list the paints I used and follow up with a little tutorial below.
Han Solo Blaster
- Blaster Gun - Amazon
- Rust-Oleum Spray Paints in Black with Primer (it has a bit of a satin finish so you don't have to repaint the scope), Hammered Black, Hammered Silver, Satin Brown
- Acrylic paints in black, silver, brown, tan
- Small paint brushes
- Silver Sharpie
- Painter's tape
I based my overall process mostly on this tutorial, so you can refer to that for a more in-depth look at the process. I did a little bit of extra weathering and "silvering", which is why I wanted to quickly go over things here.
- Start with your toy gun. Sean drilled the nozzle part as detailed in the original tutorial.
- I painted the entire gun with the black with primer first. Then I used the tape to cover the scope and handle, leaving the body exposed. This painter's tape is not too sticky, but I still rubbed it on my clothing first to make it a little less sticky to prevent it messing up the paint job. I then sprayed the body of the gun with the Hammered Black paint.
- After the body dried, I taped off the body in much the same way leaving the handle exposed. (I used paper to shield the body. Do NOT do this! The paper stuck to the paint, even though it was dry.)
- The handle was sprayed with the brown paint. I did have to use a small box to prop the gun up as it dried.
- Once the handle was dry, I taped off the body again, leaving the nozzle exposed.
- Spray the nozzle with the Hammered Silver and let it dry.
- Once the nozzle dried, I went back over the inside and tip with Hammered Black to make it look a little more worn. I also ended up touching up the parts near the nozzle where the silver paint bled onto the black.
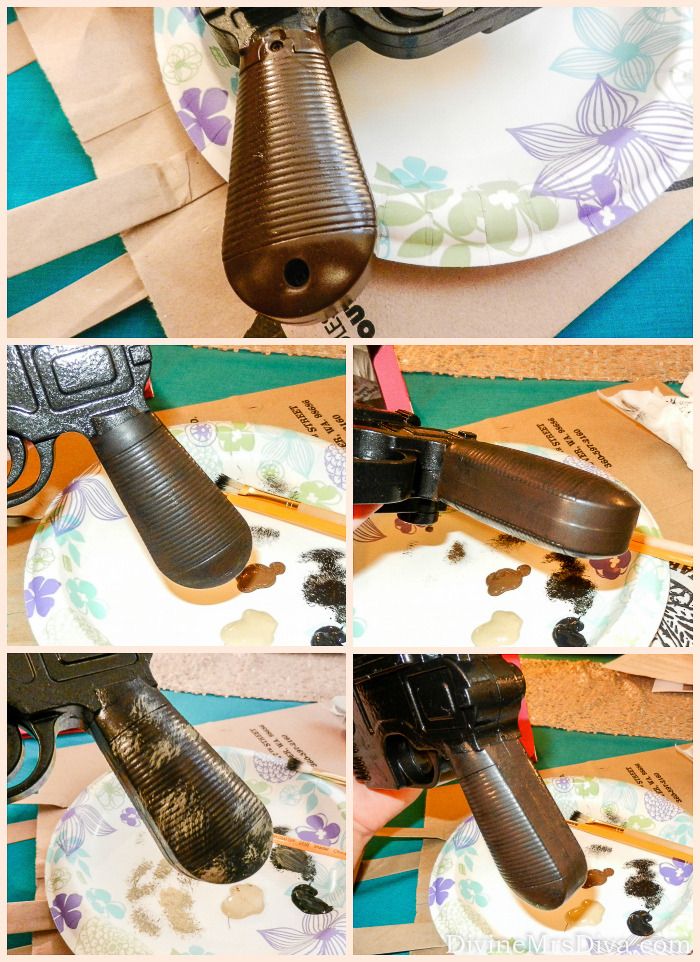
After all of that was dry, I used the black, brown, and tan acrylic paints to scuff up the handle. I used a small, stiff-bristled paintbrush to stipple on the various paints and work them in and blend them for the desired affect.
Once the handle was to my liking, I used the silver Sharpie to go over the edges of the gun body for some weathering. You don't want to over do it. I used a light hand and gently and carefully rubbed the pen on the edges to highlight where the gun would natural rub against things. Then I used a small paintbrush and the silver acrylic paint to "scuff" up the rest of it. You can always use the black acrylic paint to darken areas if you use too much silver. Once it dries, you have yourself a cool looking Han Solo Blaster!
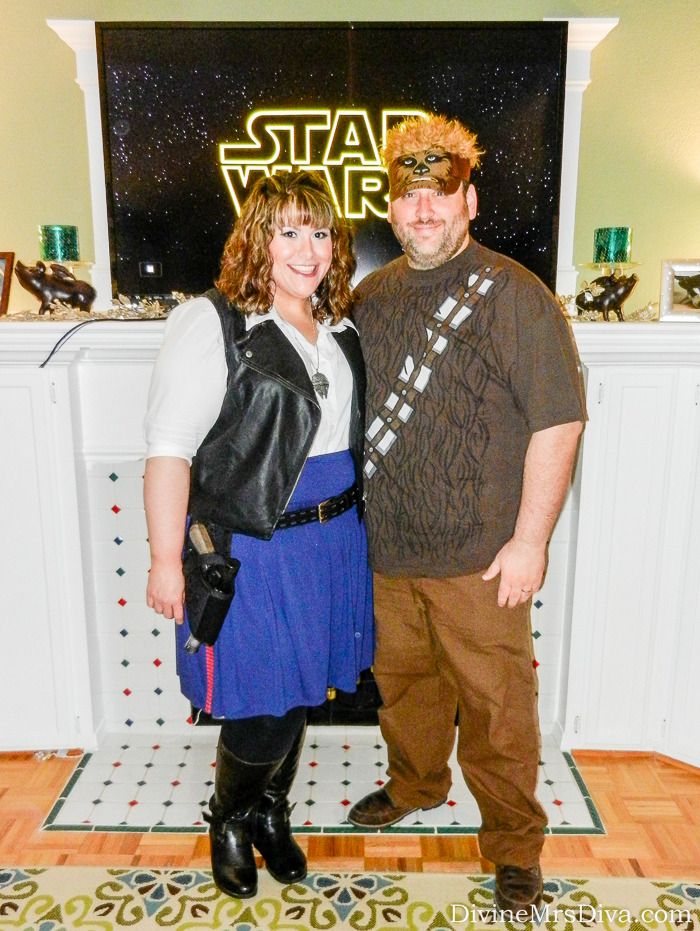
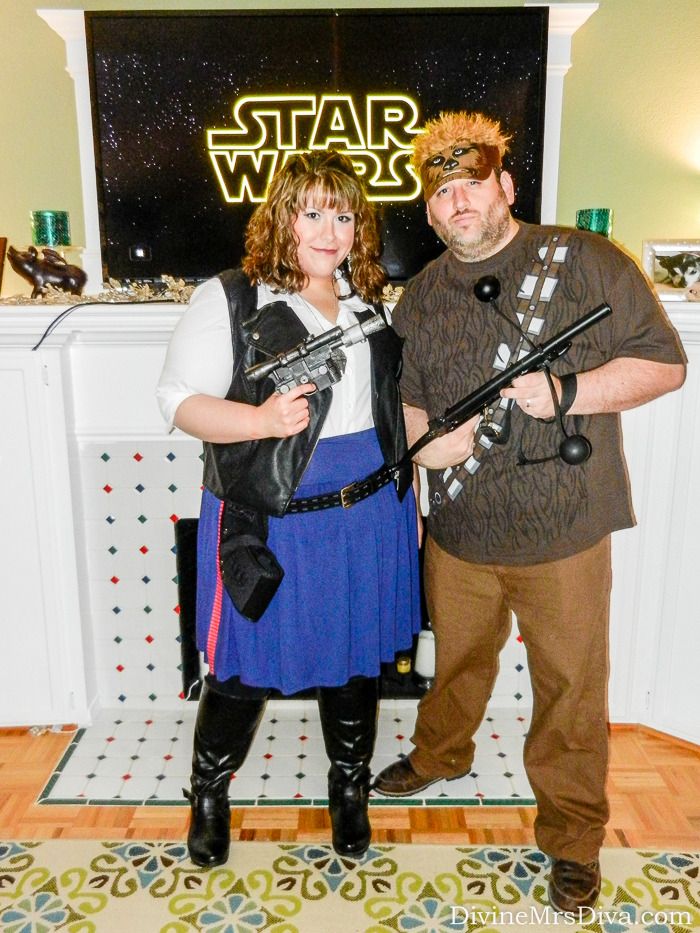
Before heading to the party, Sean and I took some photos in the living room to ensure we had some shots of our whole outfits. If your sidekick needs a simple Chewy outfit, we ordered Sean's t-shirt and hat from Amazon.
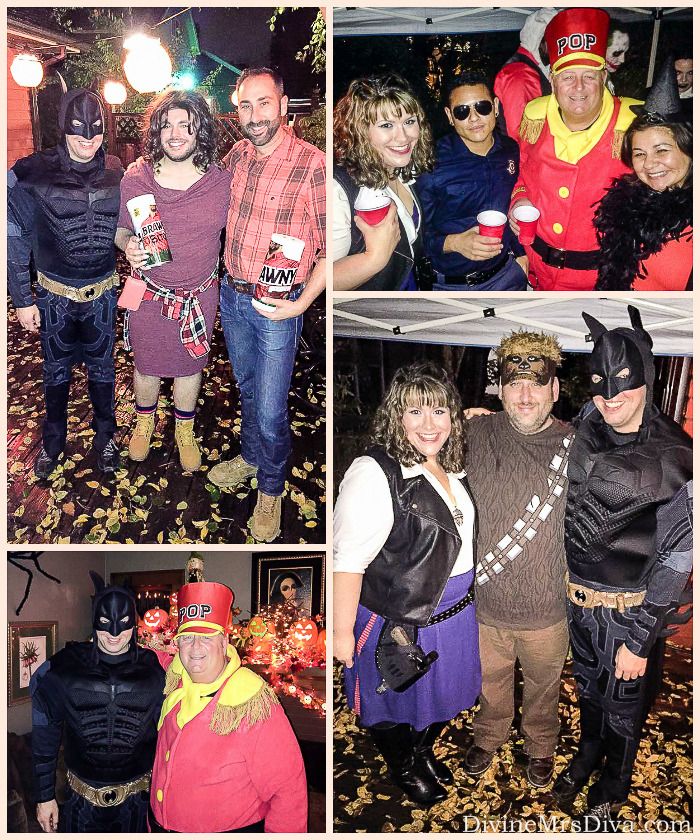
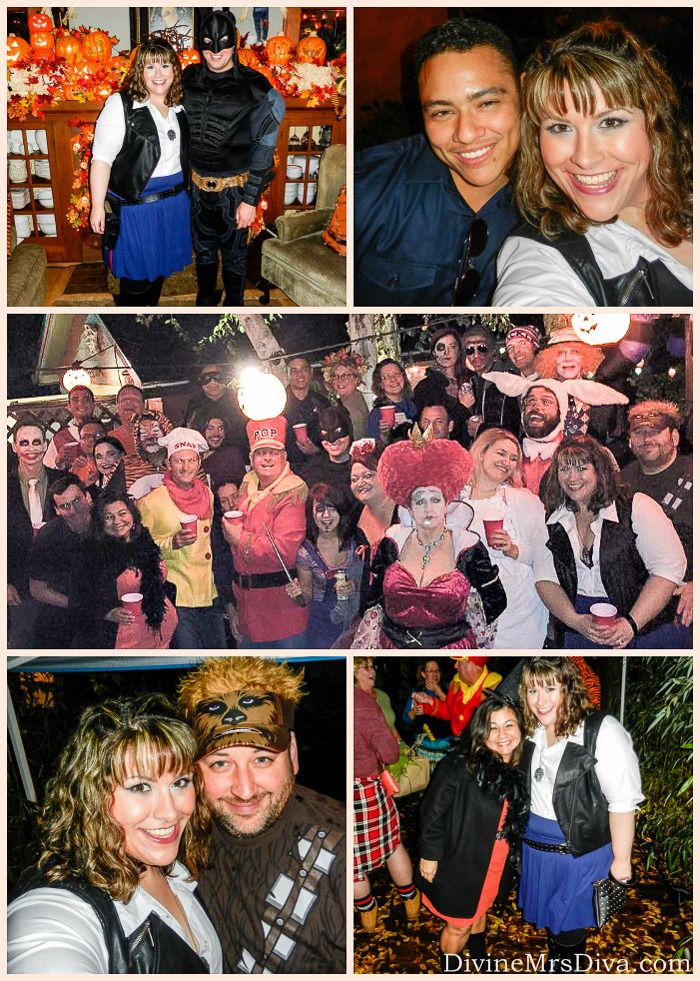
The Halloween shindig was also our friend Geoffrey's 50th birthday party (He's dressed as Pop of Snap, Crackle, and fame...). We had a blast hanging out with our friends. Happily, the unending Northwest rain died down a bit so we could hang out outside.
Did you dress up for Halloween? I would love to hear about what you wore and what you did to celebrate! Are you going to see the new Star Wars film in December? Sean and I bought our tickets already! Chat with me in the comments!



No comments