Finally! My dresser is painted, moved into the room, and everything is in its place! All last week, I worked on reorganizing and cleaning my dressing room to accommodate its new resident. We initially bought an unfinished dresser from Ikea as part of a birthday gift for me. I had a few ideas about how I wanted to paint the dresser, so I debated about that before making a final decision. Then the weather got unpredictable and we were crazy busy.
Sean and I hosted Bunco at our house in July, which became the fast approaching deadline for needing the dresser to be done and out of the living room. It was finally finished the night before. If you follow me on Instagram, you are sure to have seen some peeks at the dresser already. In today's post, I wanted to give a little tutorial on what we did and show you the result. Then on Friday, I will take you on a little tour of my newly organized dressing room.
- This is not an ad. I was not paid nor gifted anything for this post. I was working on a project for myself and thought I would share about it. -
I've been wanting/needing a dresser in my dressing room for quite a while now, so when we found one the right size we snatched it up. The extra storage was in great demand, but it also allows me to display some trinkets and decor.
When thinking on exactly how to paint it, I knew I wanted at least part of it to be sparkly. Initially, I was going to go with a metallic silver paint for the base. In looking at brands and reviews, it seemed most metallic paints are finicky in terms of finish depending on how you paint it on and if any brush strokes are slightly off. I wanted a high shine finish and nothing splotchy. On a trip to home improvement stores to look at paint, I stumbled upon a silver glitter spray paint. Then I just decided to go for it.
The end result makes me so happy! In the event you need to paint an equally fabulous dresser (or a version thereof), I thought I would walk you through the process.
1 - Rust-Oleum Glitter Spray in Silver / 2 - Painting Supplies / 3 - Paint of Your Choice (I used Valspar Signature in Cabaret) 4 - Rust-Oleum Triple Thick Glaze Spray / 5 - Valspar Paint Crystals in Silver / 6 - Microfiber Cloth / 7 - Hardware for your drawers (I used Clear Crystal Drawer Pulls) /
Not Pictured - A Dresser!
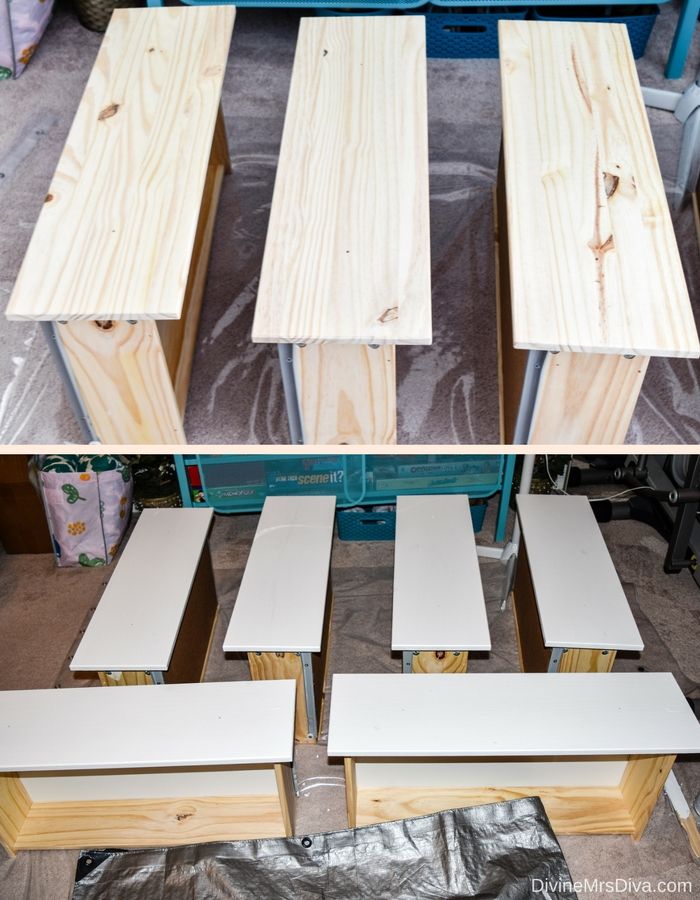
First, we started with an unfinished dresser from Ikea. Of course, they no longer carry this particular item. It is most like the Koppang 6-drawer dresser. We used white primer in a regular indoor paint and painted two coats on the drawer fronts and main dresser.
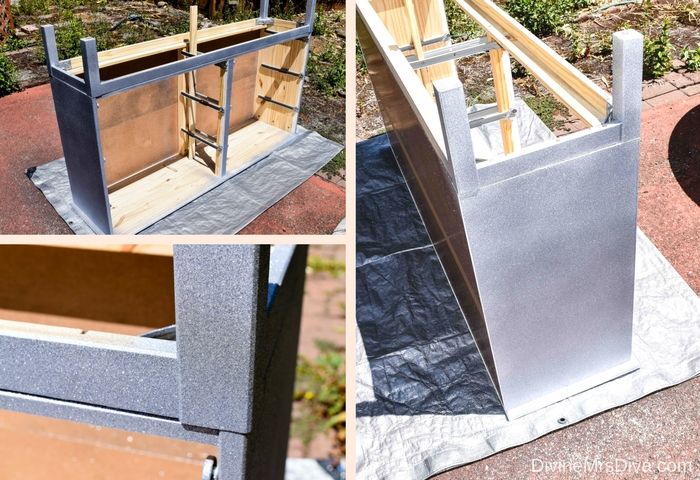
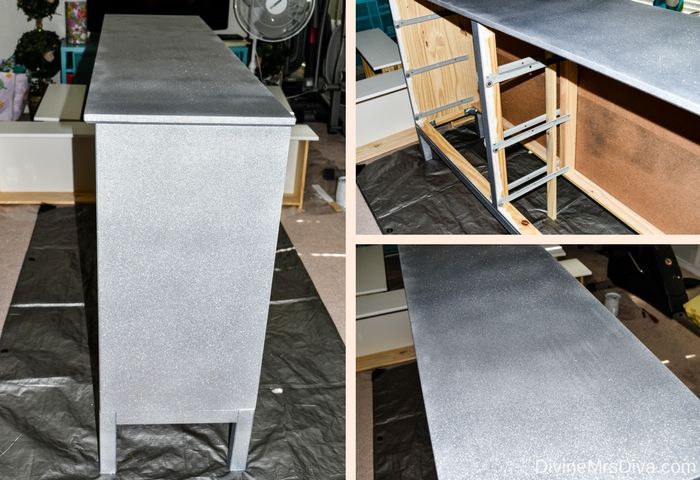
The weather and our schedules didn't allow us to get everything done in one day, so we would take the dresser base outside whenever we could and put on a coat of Rust-Oleum Glitter Spray in Silver. One can covered roughly the surface area of the top of the dresser. We put three coats of the glitter on legs, sides, and top. We went through about seven cans of glitter spray (which made this project a bit more expensive than I had intended), but we kept focused on the end result.
I will say, you want the tarp for inside and outside because, when spraying, the glitter got everywhere! Once it was dry, glitter only came off if we touched it (like when we carried it back inside or brushed up against it). It was dry to the touch within an hour, but we would let it sit out for at least a couple of hours before we moved it inside. Because of our schedules, each coat had plenty of time to set before the next coat was put on.
Once we had on as many glitter coats as we could manage, we sprayed the base with the Rust-Oleum Triple Thick Glaze Spray. When the glaze was dry, the glitter no longer came off when we touched it. I was pleasantly surprised. The glitter can look patchy in photos in certain light, but it looks solid in person.
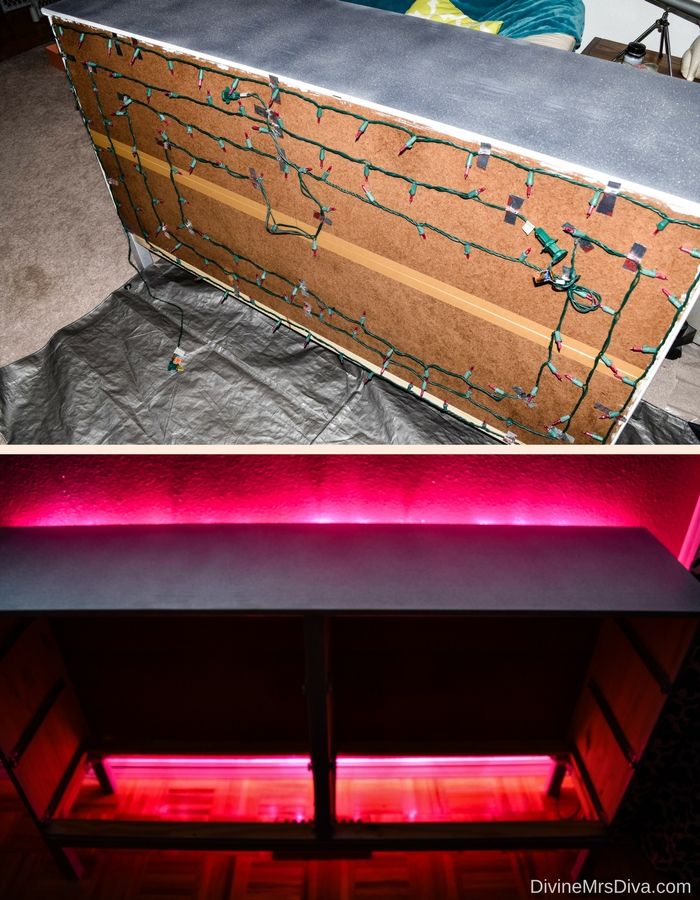
I had a couple packs of pink lights Sean bought me a couple years ago. I've been trying to figure out a way to use them in the dressing room. It doesn't look the prettiest in practice, but we used a staple gun and some aluminum tape to affix the LED lights to the back of the dresser. So when I am in need of mood lighting, I can just plug in the lights for a pinky glow.
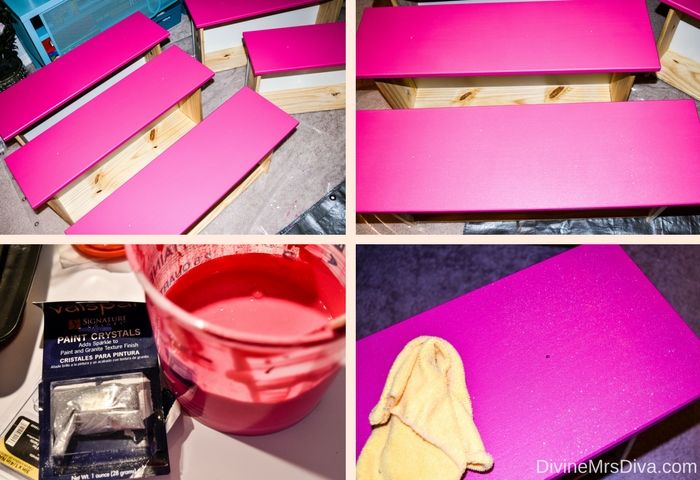
The drawers could be done inside, so they took way less time. I used my leftover Valspar Pantone Universe Paint in Cabaret that I used for painting the walls of the dressing room. It is such a beautiful fuchsia! The drawers received two coats of solid color before I broke out more sparkles.
In about half a quart of paint, I mixed in three packets of Valspar Paint Crystals in Silver. I used these same paint crystals, a finely milled glitter, on the paint for the walls as well. Where I put three packets in about half a gallon for the walls, I put three packs in the half a quart for the drawers. I wanted them way, way more sparkly than the walls. (Because if I knew then what I know now about the paint crystals, I would have added three times as much to the walls. When in doubt, go all out, I say.)
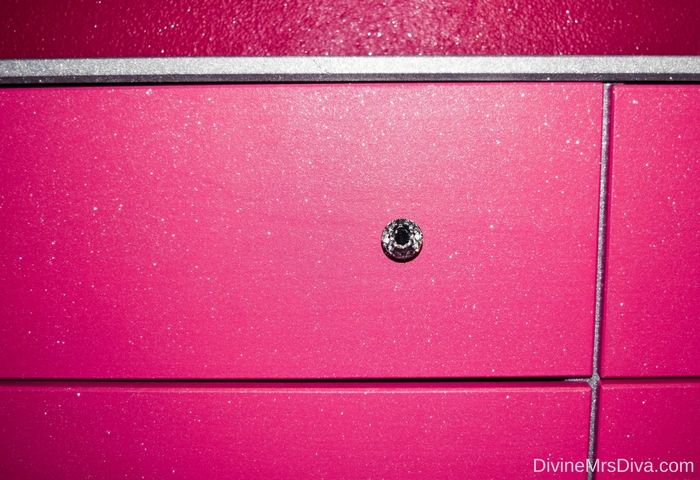
I mixed the crystals in and stirred for a little bit to mix everything together. Each drawer received two coats of the sparkly paint. It is best to put on the sparkly paint with a foam roller. A fluffy roller brush tends to deposit the glitter in thick patches instead of an even layer. If you find the first sparkly coat looks patchy, everything will look great and even after the second coat. Once everything is dry, you may see a little hint of sparkle here and there. What you have to do is grab a microfiber cloth and buff the surface of the paint to bring forth the shine! I buff in circular motions with a good amount of force to allow for maximum sparkle.
Here is an example of a buffed portion versus the unbuffed portion:
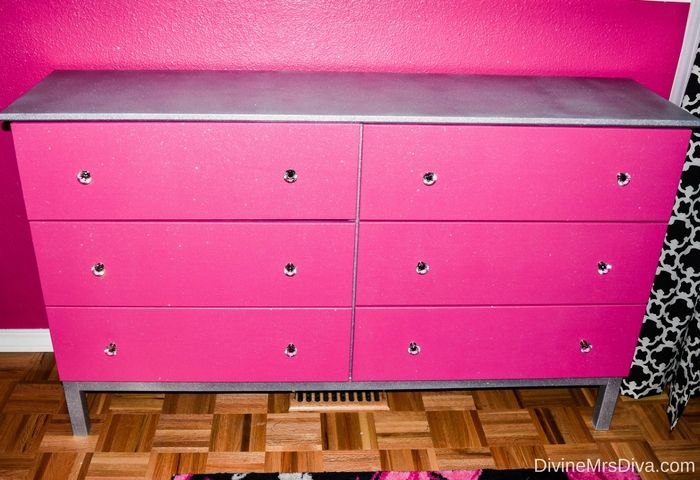
Sean found some really pretty Clear Crystal Drawer Pulls on Amazon and affixed those to the drawers. And TADA!
I am so happy with the amount of sparkle and shine, all the extra storage, and the glittery surface area ready for displaying! I can't wait to show you all the room details later this week!
Are y'all working on any home projects, DIY, or crafts? I'd love to hear about what you're working on!





No comments