Today's post is full-on fall inspired! I planned to put this up last week before Halloween, but I have been sick in bed, coughing and resting and coughing some more. I'm not 100% yet, but I'm finally able to work at my desk, so you're still getting this post dammit! haha
Grab a snack and check out my Queen of the Forest ensemble, along with a tutorial for this autumnal flower crown! This is a picture-heavy post in three parts - the outfit, the tutorial, and a closer look at the finished flower crown. Enjoy!
- I bought the items in this post. All opinions presented are my own and without influence. This post contains affiliate links and I will be compensated if you make a purchase after clicking on my links.
-
Before we get started, I am 5'9", typically wear a 22/24, wear a 40B bra, a size 11 wide shoe, and my measurements are 52/49/58.
The Look
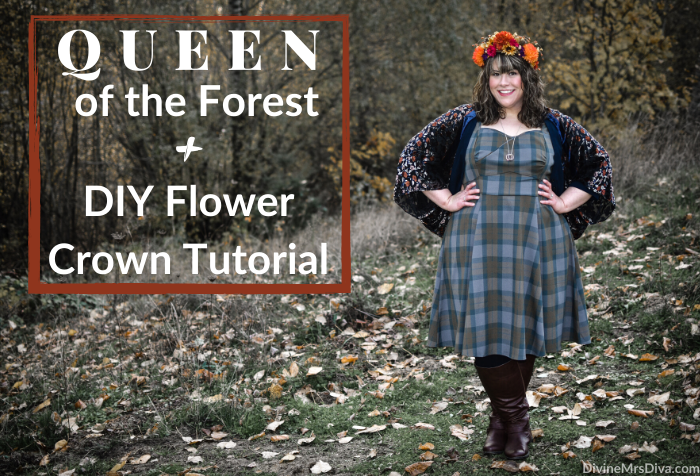
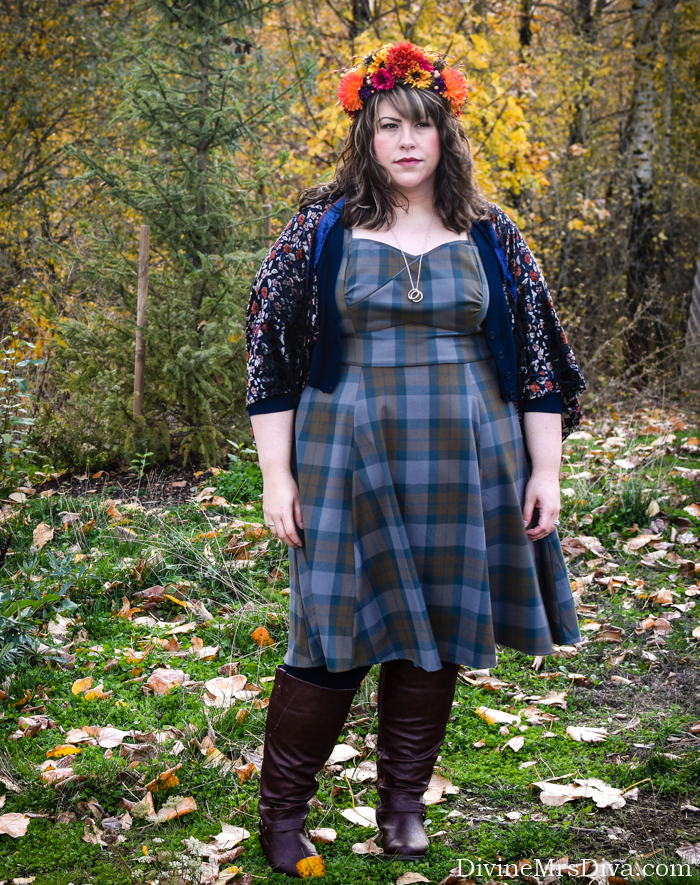
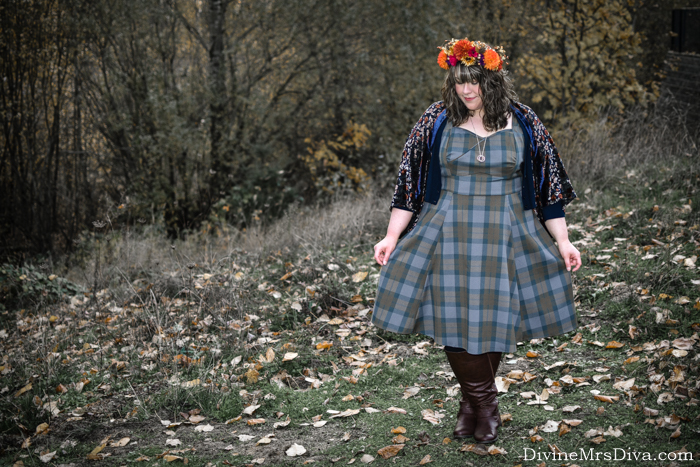
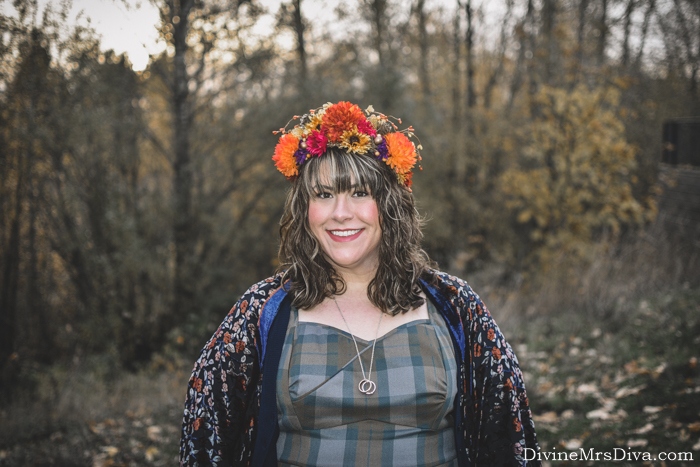
I put this look together for a Harvest Moon party hosted by some friends. In fact, I made the flower crown just for this party, though it makes me want to make one for every holiday. I pulled inspiration from what I think of when I think of fall - changing leaves, jewel tones, plaid, and fabrics with more texture. So naturally, I started with my Outlander tartan dress. The blues and browns and greys tend to be pretty easy to pair with many other colors.
You don't see it too much in these photos, but I am wearing a navy cardigan underneath the kimono for a bit of warmth. You can see the cardigan fully in this post. When I found this velvet burnout kimono at Target, I just knew I needed it for this look. This was a straight size "one size fits all", but it works fine for what I wanted it to be. Later on, they came out with a plus size version, but I just went with this one. I love the texture of the velvet and the gorgeous navy and burnt orange colors that stand out against the rest of the outfit. It ties everything together beautifully, while also giving me extra interest in print mixing.
And naturally, I added leggings for warmth and my trusty boots. This outfit made me feel like a goddess of the forest! I love it so much!
Outlander Tartan Dress - Torrid
Black Leggings - Lane Bryant
Talia Stretch Riding Boots - Avenue (similar, similar, similar)
Dream of the Crop Cardigan - ModCloth
Velvet Burnout Shrug - Target (similar, similar)
Flower Crown - DIY
Flower Crown Tutorial
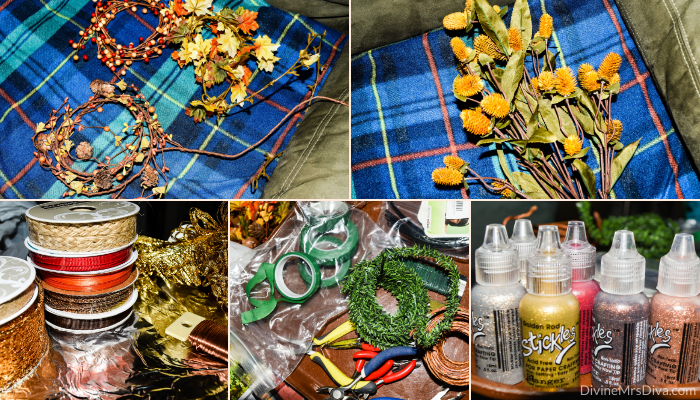
What You Will Need:
- Thick raffia-covered wire
- Various small garlands for your theme
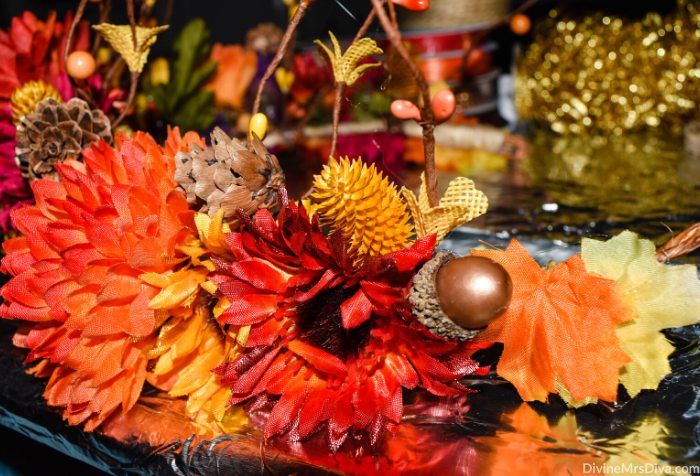
- In making an autumn flower crown, I went with fall leaves, berries, and pine cones.
- Bunches of flowers, leaves, or other textured items
- Ribbon of your choice for the back tie
- Thin wire
- Use whatever color works with your color combo. I chose copper for the autumn crown.
- Other trims and ribbons for decorating the crown
- Floral tape
- Wire cutters
- A glue gun and glue
- Glitter paint and paintbrush
- I used Stickles because they have tons of colors and are super sparkly.
Tutorial:
1. Using the thick, raffia-covered wire, create a shape to go around your head. Leave enough room at the ends to make loops. Make your loops big enough for the ribbon you will be using, and wrap the excess wire around the base wire.
2. Using another length of thick wire, create a tiara shape of your choice by wrapping and shaping the wire around the base. Wrap the ends of this wire around the back of the base to the loop.
3. Cover this wrapped portion of the base with floral tape to keep it snug and tight.
4. Wrap base of crown with ribbon of your choice. You could choose a ribbon that adds texture, sparkle, color, etc. to your crown. I chose a natural rope-like ribbon for its texture.
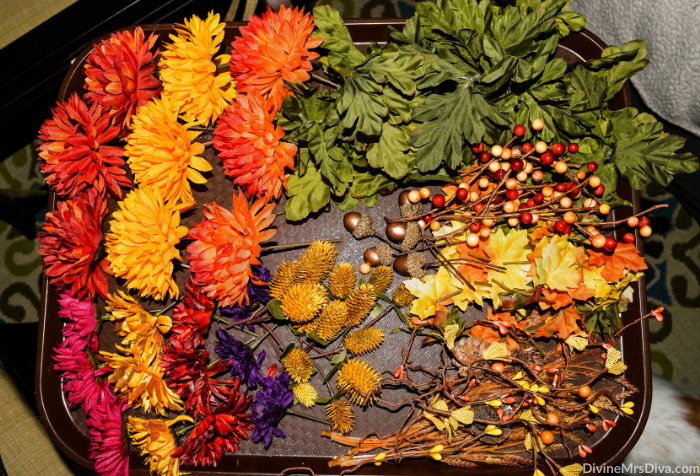
5. Go through your chosen floral garlands and flowers and clip them all into individual pieces. Clip each flower at its base. Cut individual leaves and buds, and snip off small sections of garland. Lay them out in an organized fashion so you can see what you have to mix and match. Lay out any other embellishments you want to use.
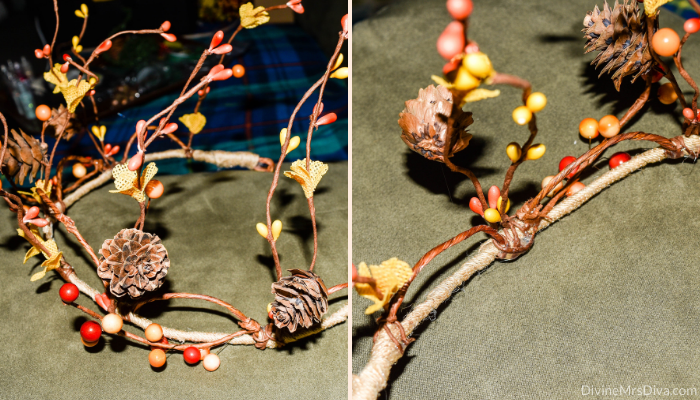
6. I found it easier to begin with garland pieces I could wrap around the crown base, This also helps add more surfaces to adhere other elements as we go. Just think of it as layering from the bottom up. These are your background pieces and you will keep building and adding onto the crown.
7. Once I had the pieces wrapped where I wanted them, I put down some hot glue on top of the "joint" to keep things in place.
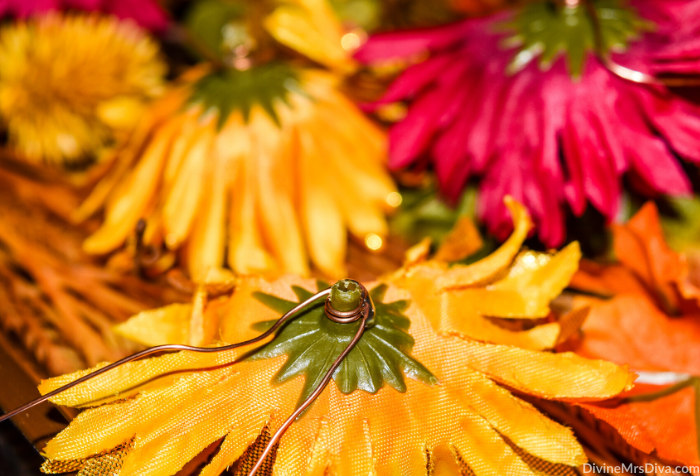
8. Before using the flowers, I wrapped copper wire around the base of the flower and used hot glue to keep it in place. Once these are dry, they are ready to use.
9. Use the copper wire on the flower bases to affix them to the crown. Hot glue the place where you wrap the wire. You periodically want to hot glue some of the flowers together as you go.
10. When you get your embellishments distributed and placed as you want them, it is time to decorate the back so the crown looks good from all angles.
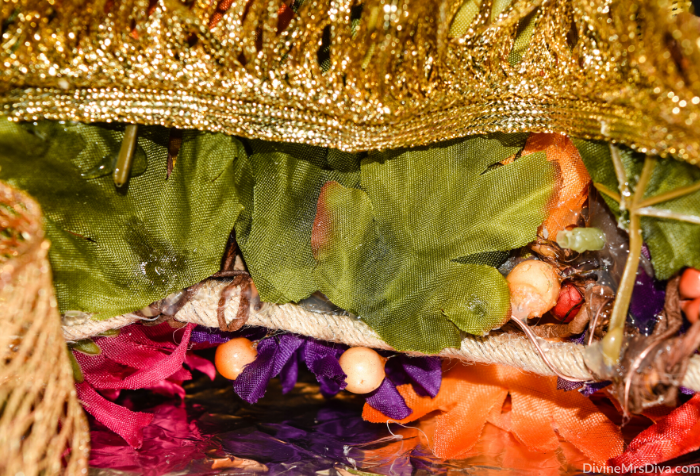
11. Use the leaves to cover all the glue spots and craziness in the back. Hot glue the leaves to the base of the crown and backs of the flowers.
12. Glue decorative trim (I used a gold loops ribbon.) along the upper back of the crown.
13. I used a gold webbed wider ribbon to cover the rest of the back. This step is purely up to you. For me it added another cover to the back, plus sparkle. But you can't even see it when I wear the crown.
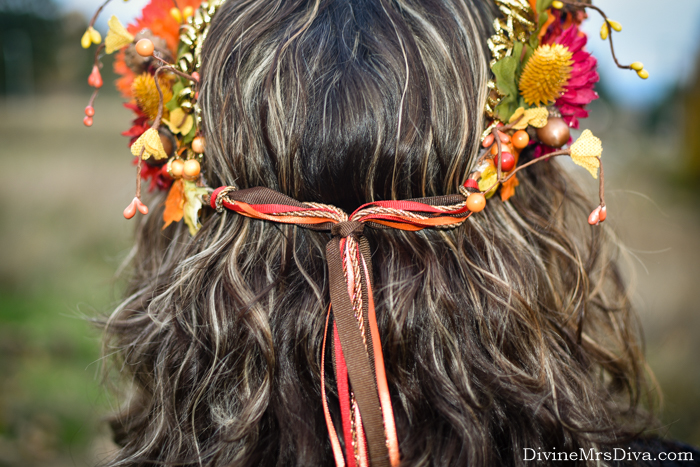
14. I wanted to use multiple ribbons to add color and texture. Cut lengths of ribbon for each side, pull them through the loop, and knot it. You can even use hot glue in the middle of the knot to keep it secure.
15. To keep things more streamlined, I used one ribbon from each side to tie the ribbons together in the back.16. Using the Stickles glitter glue and a paintbrush, I brushed all the tips of the flowers, pine cones, leaves, and other pieces with glitter paint. Let this dry, clean up any hot glue strings, and it is ready to wear!
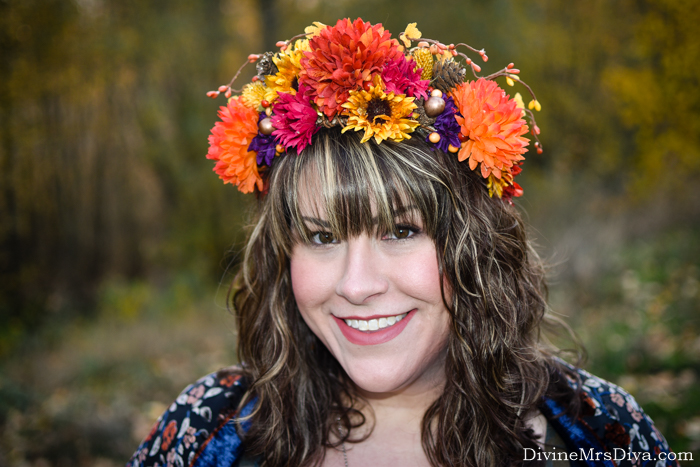
The Flower Crown in Action
Would you make a flower crown like this? What colors would you use? Is there another holiday or season you would want in flower crown form?

















No comments