I saw these paper trees on the Better Homes and Gardens website a couple months ago. This post comes too late for Christmas, but I wanted to share nonetheless. I am planning to make some cute non-Christmasy trees for decoration.
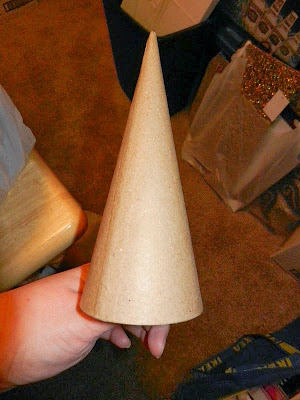
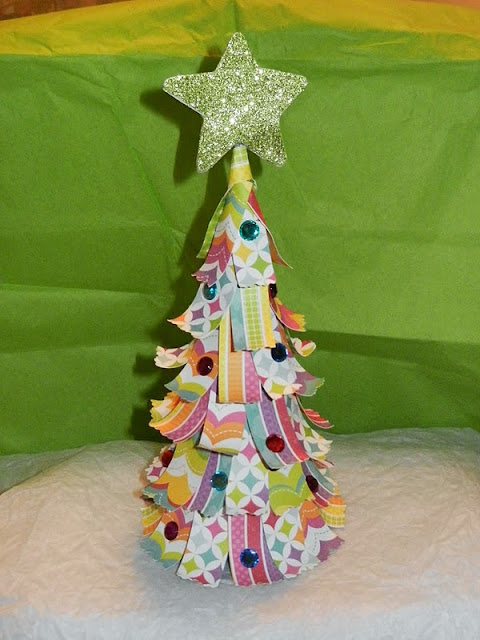
I made one as a gift for a friend. I started with a paper mache cone and painted it with some acrylic paint.
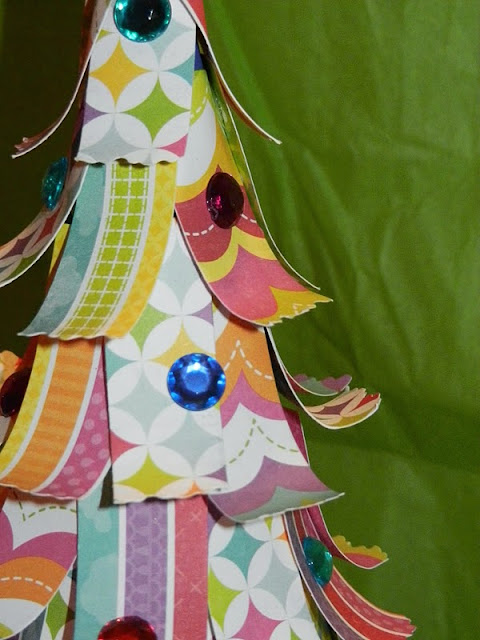
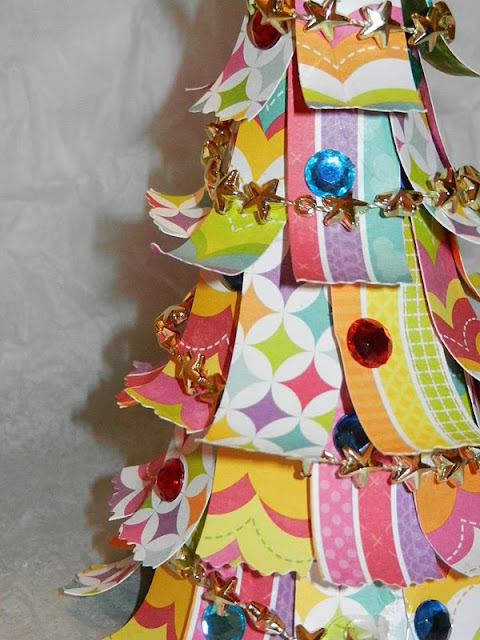
I decided on bright, rainbow patterned paper that complimented each other. I cut 1 inch by 2-1/2 inch and 3/4 inch by 2-1/2 inch strips from the paper. Using scissors with decorative cutting designs, I cut one of the short edges of each strip. Then I curled the strip around a pencil to give it some swoop.
You can use hot glue, but I knew I would burn my fingers too much if I did it that way. I chose to use glue dots for adhering the strips to the cone. You can find the glue dots at craft or scrapbooking stores (or the craft section of Wal-Mart or Target). I tried to stagger the layering of the strips the best I could.
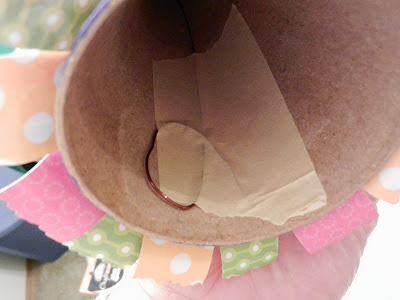
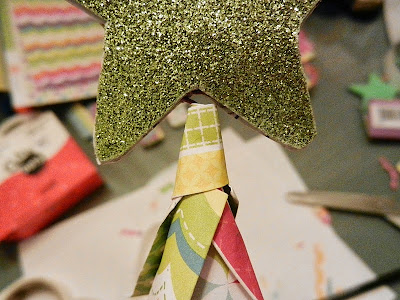
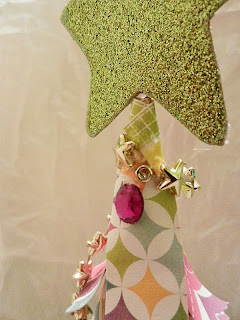
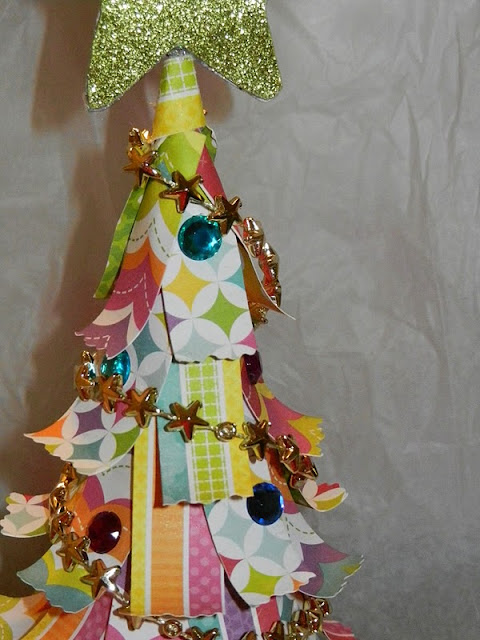
Before I finished, I cut glitter paper into a star shape (you need two stars) and glued them together with a piece of wire inside. I stuck the wire through the top of the cone and taped the wire down inside.
To finish it off, I wrapped a small strip of paper around the top and secured with a glue dot.
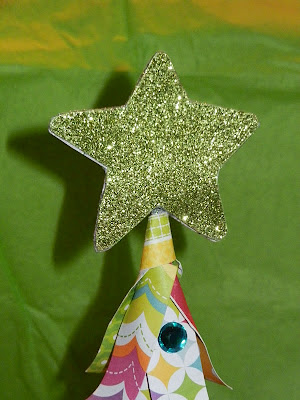
I added rhinestones with small glue dots to act as ornaments.
Glitter glue went around the star just to cover some of the paper backing that was showing.










No comments