This year was our first ever Red Dress Party! This event has been going on since 2001 as a fundraising effort to support queer youth, help community members living with HIV and AIDS, to help fight domestic violence, and serve community members in need. This year the beneficiaries were Bridging Voices, a youth chorus for gay, straight, and questioning youth; and Rock N Roll Camp for Girls, a camp that helps build girls' self-esteem through music creation and performance. Our friends have been going for years, and we finally had a chance to join in on the fun.
The rule of Red Dress is that, yes, you must wear a red dress to get in (red separates are also fine). I love a theme, so I was excited to start putting my look together. However, red, glittery, comfortable shoes in an 11 wide are incredibly hard (some might say 'impossible') to find. I decided to make my own, frankly, because I can. I'm including the tutorial for you just in case you need glittery comfort in your life. It was a learning experience, so I can share with you what I did wrong and what I got right.
- I bought the items in this post. All opinions presented are my own and without influence. This post contains affiliate links and I will be compensated if you make a purchase after clicking on my links.
-
Before we get started, I am 5'9", typically wear a 22/24, wear a 40B bra, a size 11 wide shoe, and my measurements are 52/49/58.
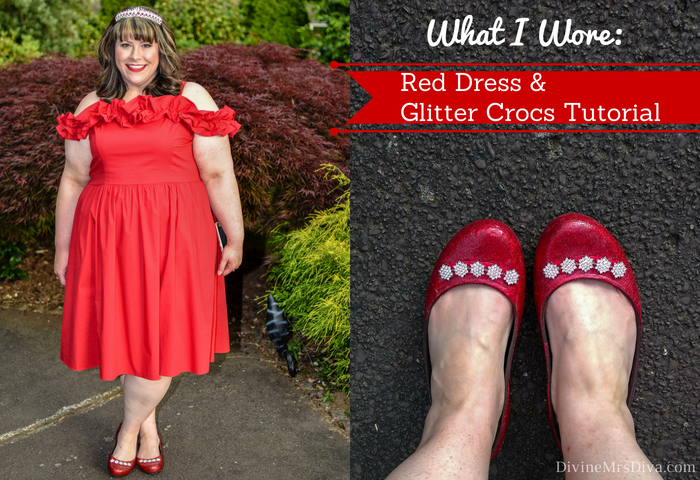
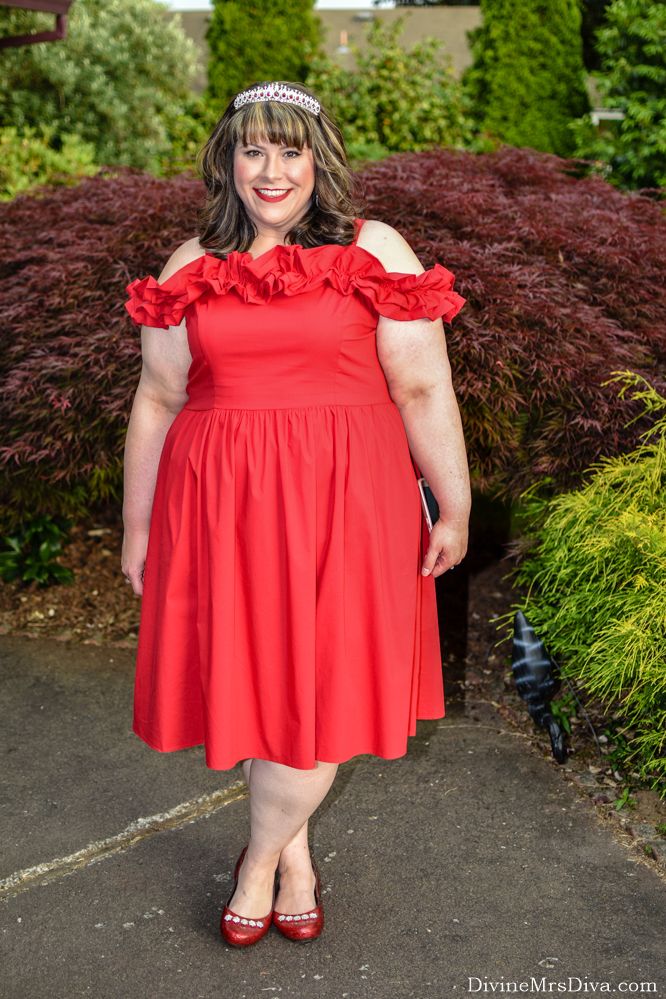
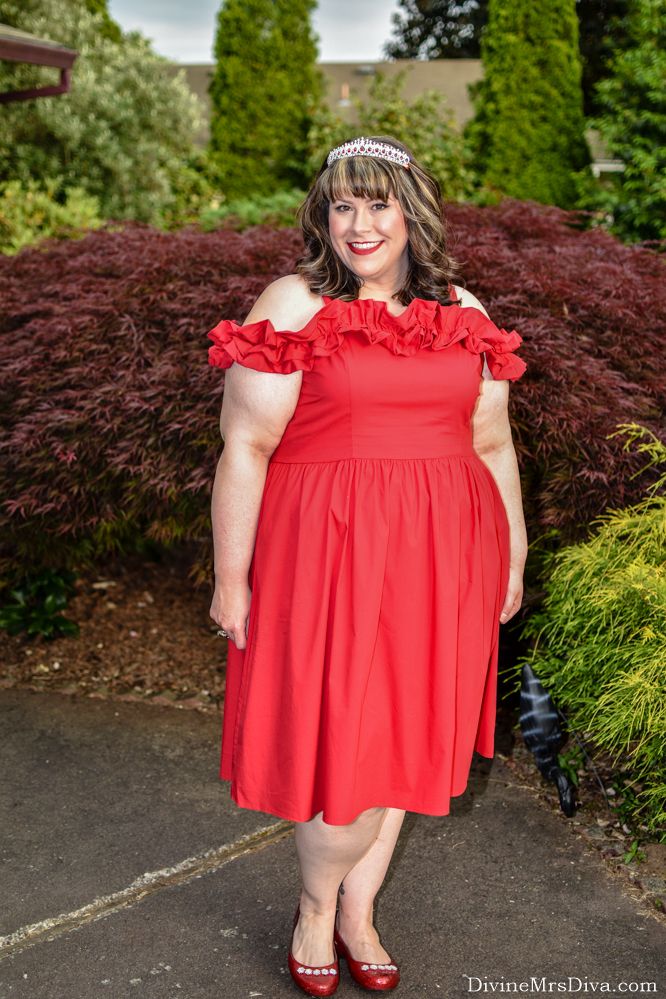
The Ruffle Detail Fit and Flare Dress is one I picked up during a sale last July in preparation for Red Dress. It is still available in black in sizes 14 to 28, and on clearance for $34.97 with code STOCKUP. I started shopping so early for it because I had no idea how hard, or easy, it was going to be to find all the red items I needed. I found the dress really early on.
I am wearing a size 22 and find it is a pretty perfect fit. The bust fits me well, while still having ample room in the hips with this fit-and-flare style. I love the ruffles and how they balance out my body. The arm ruffles have a soft, stretchy elastic on the inner gathered hem to give them stretch and to keep them from being scratchy. This same soft elastic is hidden inside the waist to help with fit. The fabric shoulder straps are adjustable and removable. A silicone backing lines the top part of the dress in case you choose to wear it strapless. The armholes are not insanely large and awkward, so this is a viable option. There is a hidden zipper closure down the middle of the back. Also, POCKETS!
The fabric is a cotton/nylon/spandex blend. It has minimal stretch and feels more like a woven fabric, yet it is lightweight and cool. It does wrinkle. This is probably my only real complaint about this dress. Wrinkles may be way less noticeable in the black fabric and, really, it wasn't horrible in the red. I just hate being wrinkly at all. The fabric was also opaque, so I did not need a slip. I did wear my black lace-trimmed undershorts though. Overall, it is a well-made dress and one I am glad I bought.
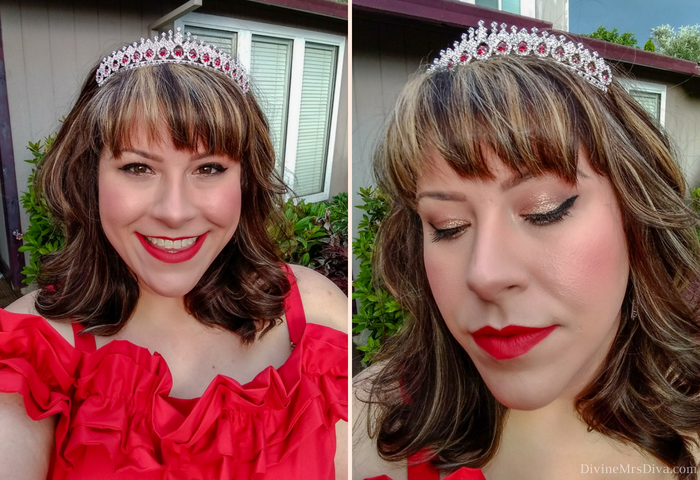
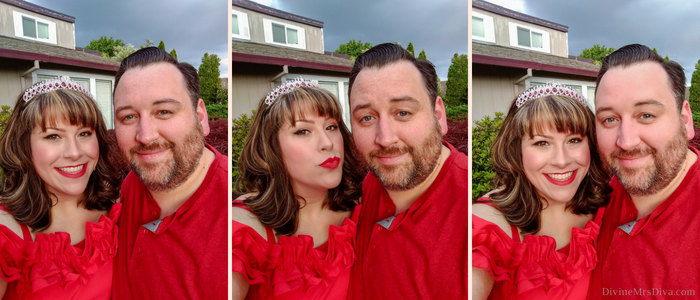
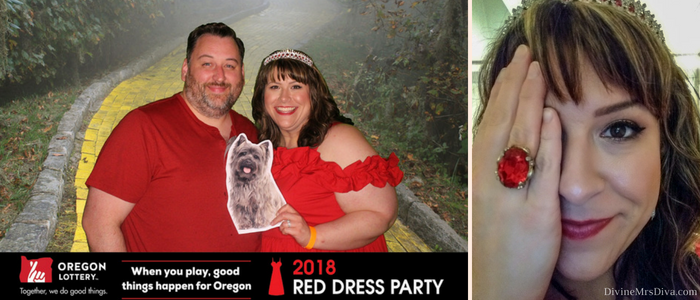
The accessories include a ring that once belonged to my dad, a red crystal tiara (I don't even need an excuse to buy a tiara, but was glad I had one. haha), ruby crystal earrings I found on eBay (for $13!!), a red crossbody purse from JCP, and my DIY Crocs. I'll tell you more about the Crocs below. I was really happy with how it all came together. My regular hair appointment was earlier that day. My stylist hated letting me leave without brushing out my curls, but I wanted my hairdo to last as long as possible. The curls were able to cool. I pinned them up when I got home to try to preserve them while I did my makeup and freshened up. I only had to re-curl two sections, so that was a pretty big hair victory! I think I want to wear my hair this way for my reunion.
Ruffle Detail Fit and Flare Dress - Eloquii
Red Glitter Crocs - DIY project (see below)
Ruby Crystal Drop Earrings - eBay from seller Irisisland
Red Crystal Tiara - Amazon
Ruby Ring - Hand-me-down from my dad
Worthington Jeana Crossbody Bag - JCPenney
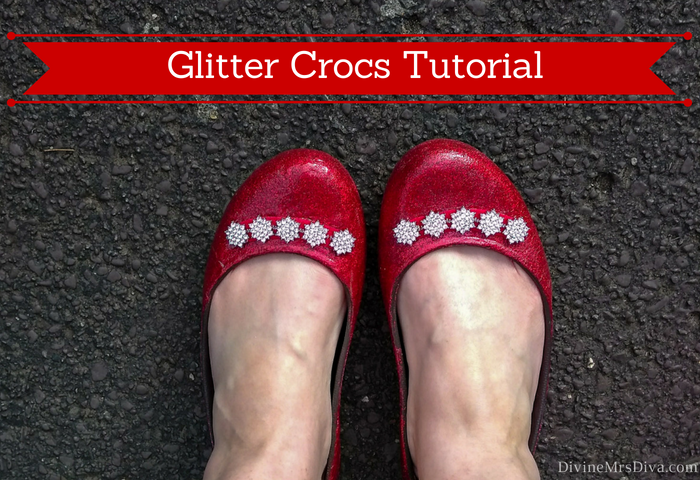
Glitter Crocs Tutorial
What you will need:
- Crocs Kadee Flat
- I purchased the espresso color in an 11. They are plenty wide for my feet. The espresso was the only color on super sale back in November when I bought them for $11. They are $25 right now, so keep an eye on them.
- At least 4 tubes of E6000 glue
- A box of latex gloves
- At least half a paper bowl of red glitter
- This is an odd way to measure, but I just took all the red glitter I had and mixed it together in a bowl because I was afraid I would run out of glitter.
- Spoon
- Red Felt
- Rhinestones or other embellishments, I used the Glass & Metal Crystal Flower Beads.
- I used a few strings worth of some jewelry charms from Michaels.
- Newspaper
- Scissors
- Regular paper to make a template & a pencil
- Wax paper
- A large stiff paint brush, similar to this one
- Alcohol and microfiber cloth
How To:
- Wipe down your shoes with alcohol on a microfiber cloth. This gets rid of dirt and oils that may mess with the glue. Although E6000 is pretty hardcore, I wanted to make sure everything was clean. Lay down the wax paper on your working surface. I used this to protect the surface from glue, but it was also easy to funnel the glue back in the bowl when needed.
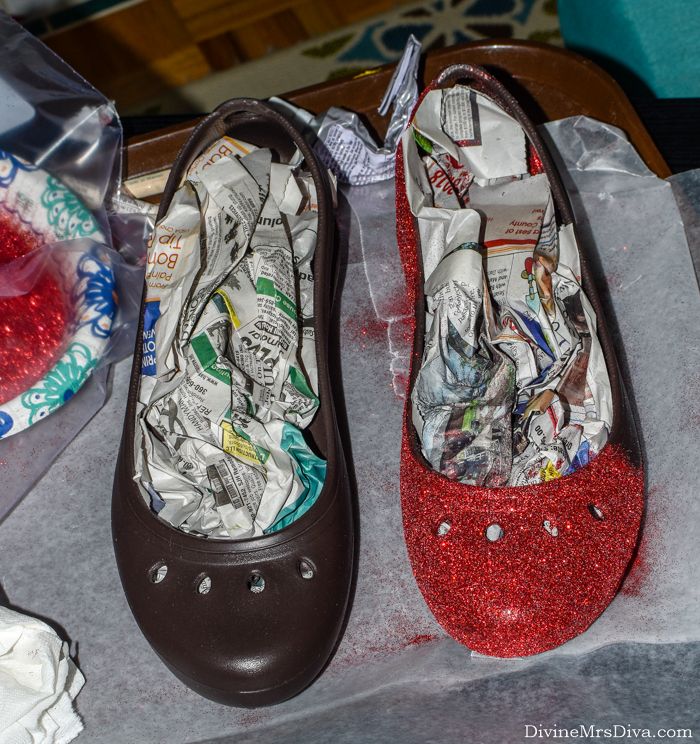
- Ball up the newspaper and place it in each shoe. While this doesn't keep the glitter from getting EVERYWHERE inside the shoe, it does help keep the glue from sticking to extra parts, especially when we do the front area with the holes.
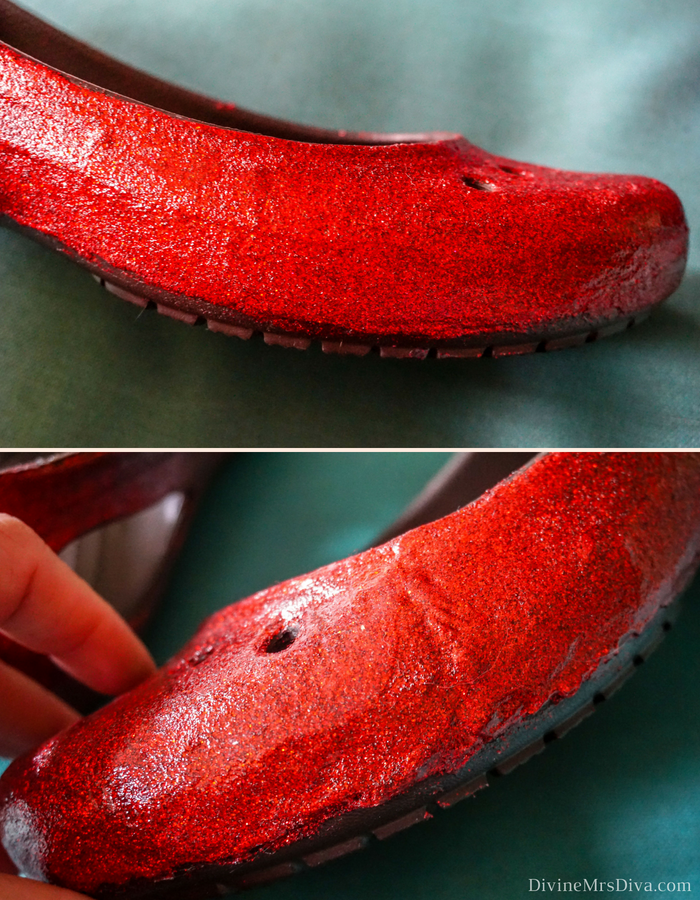
- When I first started applying the glue, I squeezed it out onto the shoe and used a foam brush to try to spread it around. I also used more glue than I should have and it would run down the side a bit. This made for lumpy-looking shoes on my first pair. While the lumps aren't noticeable from the ground, they are noticeable close up. Plus, I know they are there and that bothers me. (See below for smooth versus lumpy)
What you want to do for a smooth application is put on your latex gloves. These also help you open the E6000 tube, which can be really difficult after your first use. Pick a starting point. I chose the side of the shoe on the inside of the foot to start with in case there were lines or something I needed to fix. While holding your shoe in one hand, squeeze out glue onto the shoe with the other. It comes out slow. Apply back and forth lines, leaving a little bit of space between each line. My first section was the side of the shoe from curve to the beginning of the heel. Once you apply the glue, take your finger and start to carefully smear the glue over the shoe in order to have a smooth finish. Once you've spread the glue smooth, use your spoon to sprinkle the glitter over the shoe. Hold the shoe above the bowl while you do this to minimize the amount of glitter on your work surface. Set the shoe down on your wax paper surface and let it dry one to two days before working on the next section, etc. etc. I did each shoe in four sections. I did fail to do the top edge of the shoe that is visible around my foot. It isn't that noticeable, but it stood out to me in the photo I took. I will go back and cover that part. So, don't forget those top and inner edges.
- In between sections/coats, use the stiff bristle brush to brush excess glitter off of the shoe.
- Once your first coat is down, it is time to do this all again to each shoe. I was able to do larger sections during the second coat, so that saved a few days. Same deal - zigzag your glue, smear it out with your finger, sprinkle glitter. Let that dry another couple of days.
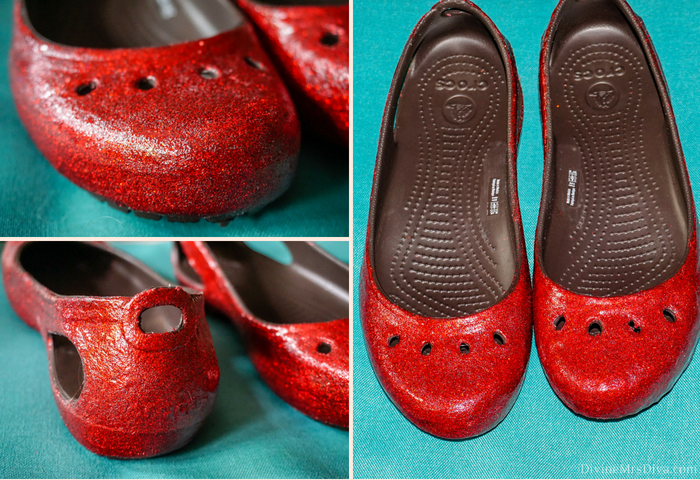
- Dust off the excess glitter and apply your sealer coat. For this step, we are just smearing another layer of the glue over the top. I thought about different types of glue for this step, but the E6000 dries down very flexible. I figured this would allow the most movement and least amount of cracking to just seal it with the same glue. Apply the top coat (don't forget edges!) and let that dry another two or three days.
- At this point, I removed the newspaper and dusted the inner area of the shoe with my brush. Then I rinsed the shoes in the sink to try to remove as much glitter as possible. I set them upright on a paper towel and let them dry.
- Once they are dry, use paper and pencil to create a rubbing of the holes on top of the shoe. Then draw an oblong shape as a template for your felt. You want this shape to be large enough to cover the holes and have room to adhere to the shoe, but it's overall shape will also depend on what embellishments you choose. I chose rhinestone charms for their sparkle. They had loops on each side to string them as a bracelet, so I cut those off.
- Using the E6000, glue your embellishments to the felt. Let that dry for a day or two.
- Carefully place the glue on the shoe (around the holes) and on the back of felt piece and adhere to the shoe. You may have to do a little clean-up on this part by removing glue from around the edges or from the inside of the shoe where the holes are. I would also place a small piece of newspaper or wax paper inside the shoe, under the holes, before gluing the felt piece on. Let this dry for another couple of days.
- At this point, you are basically done. You may want to check the shoe for glue strings or excess glitter and clean it up. Then put them on and look cute!!
Red Dress PDX
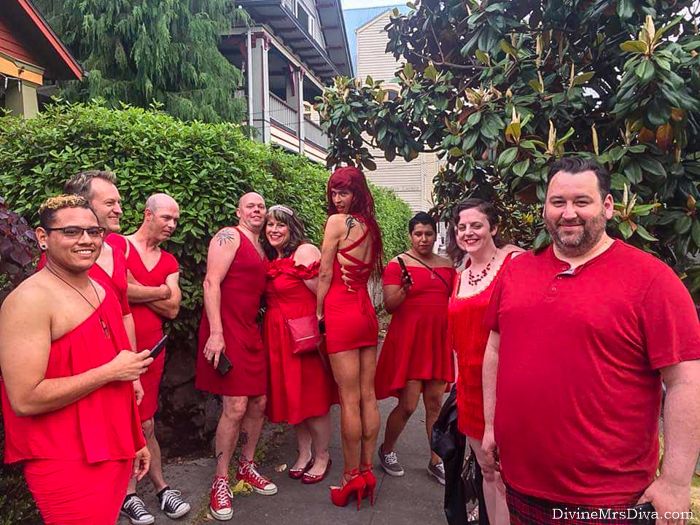
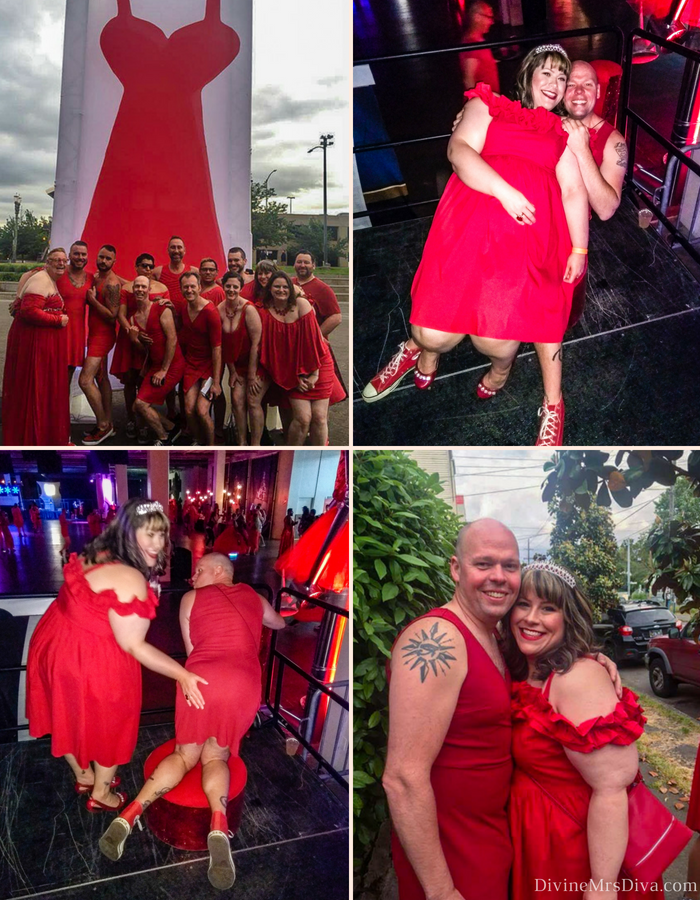
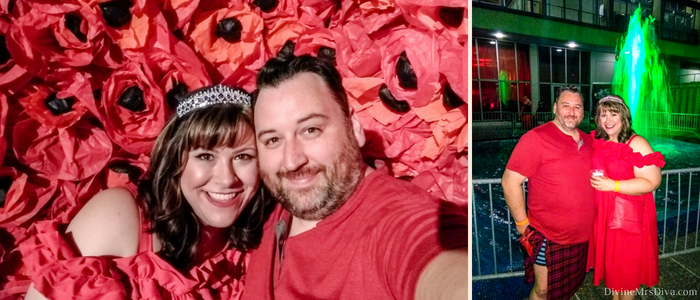
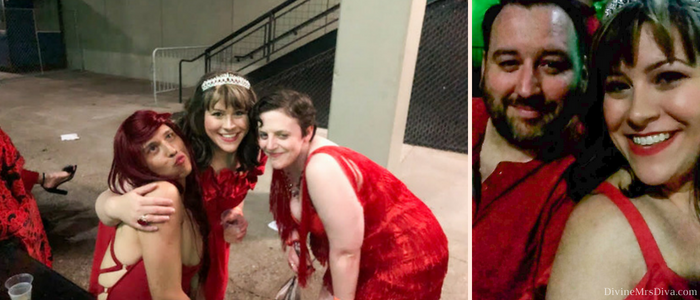
The party itself was a lot of fun! Sean and I took a few photos before heading off to meet our friends in Portland. The group of us took some photos while we waited for our Lyfts. The theme for this year's party was the Wizard of Oz-inspired Wicked Red. I loved the little decor details throughout the space. The space itself was underneath the Veterans Memorial Coliseum in Portland. This provided a couple dance spaces with different DJs, various food set-ups and beverage stations/bars, and a couple outdoor spaces for cooling off. Upon arrival we were greeted with a signature cocktail and snacked on Southern-inspired food. The creamy mac and cheese was so, so good! Drinks were had, dancing was done, pictures were taken. At the end of the night, we jumped in line to get our picture taken at the Oregon Lottery booth, where they gave us two printed photos in magnetic holders. We grabbed some more mac and cheese and called it a night. I had to be up at 6AM to get ready to leave for vacation, so I was trying to not overindulge and get home at a somewhat decent time.
Have y'all bought anything fun from Eloquii lately? Are you going to attempt to make yourself some glitter shoes? Do you have a party like this in your community?






No comments