Since we have the house mostly in order, it is finally time to present the details of my beloved dressing room to you. I have been so excited to share and do a big reveal!! I still have a few things to do, like paint my wooden chandelier, put in a new light fixture and ceiling fan, find a rug, add more artwork, touch up paint, etc. But it dawned on me that if I wait until it is absolute perfection, I may never get the post done.
I also thought it would be fun to show you what it looked like before we started working on it. This post is Part One in the two part fun!
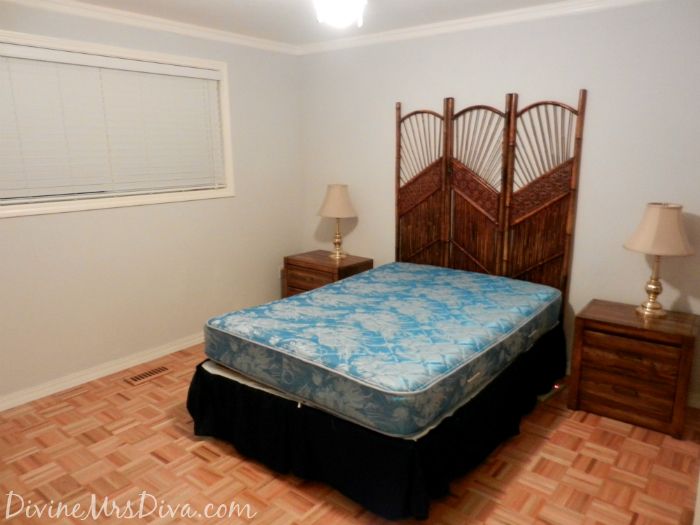
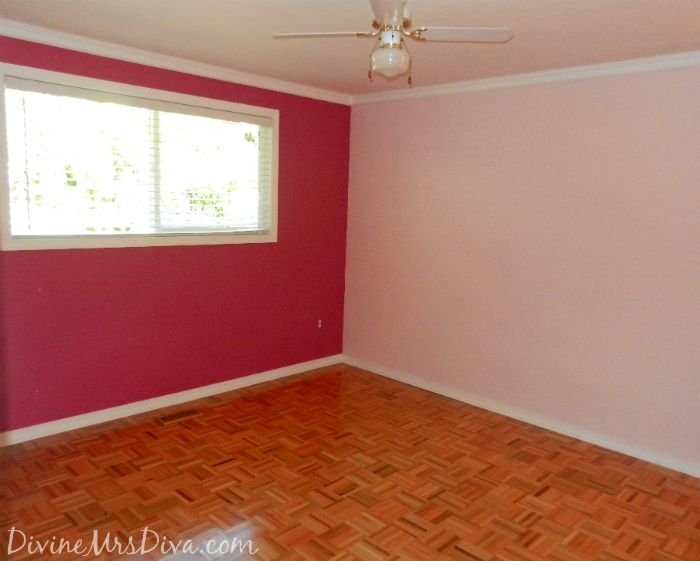
The lady who owned the house before us left various furniture. Some of it has been useful and other pieces will be sold or given away. She was using this room as a guest bedroom. The walls were a very light periwinkle color that seemed almost white in the daylight.
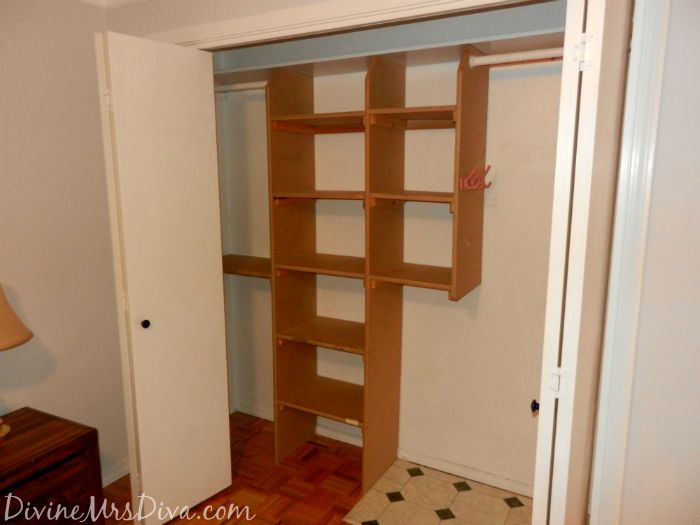
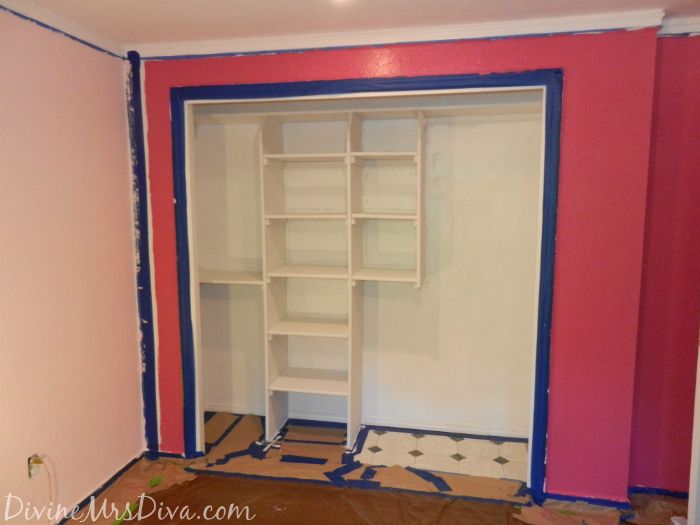
The closet came with some really handy organization already installed. This feature helped greatly with my ideas of organizing and categorizing various clothing and accessories.
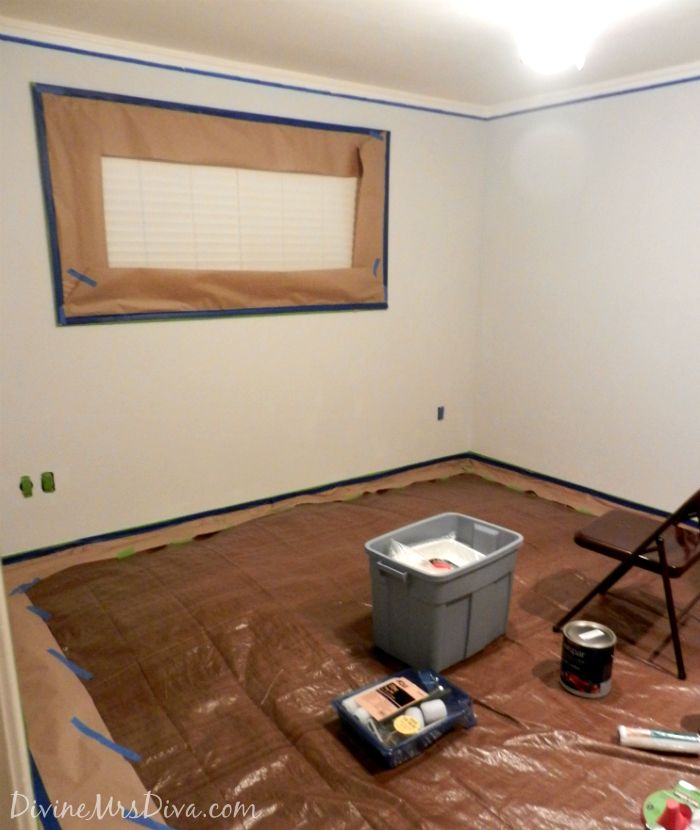
We removed the closet doors (two of the door panels were used to create a crafting desk for me upstairs), moved out all the furniture, and spent quite a bit of time taping the room and covering everything to the best of our ability. After that, we used a white primer to even everything out and start fresh.
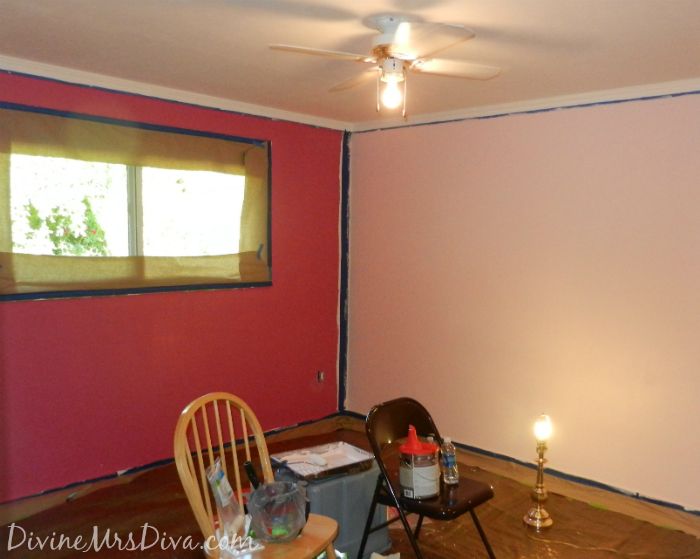
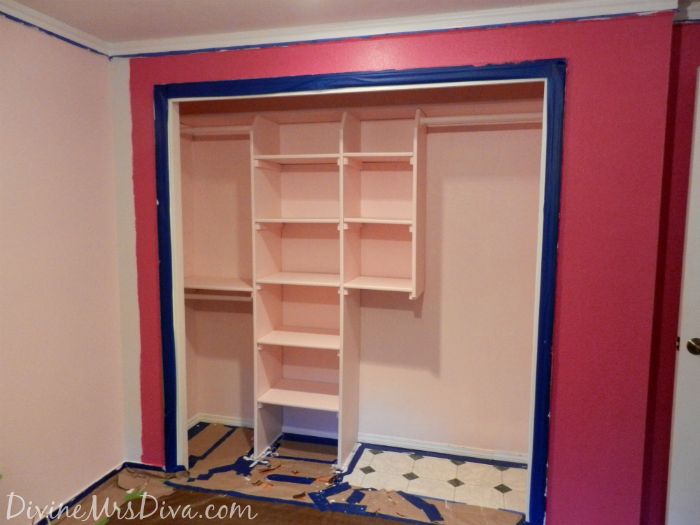
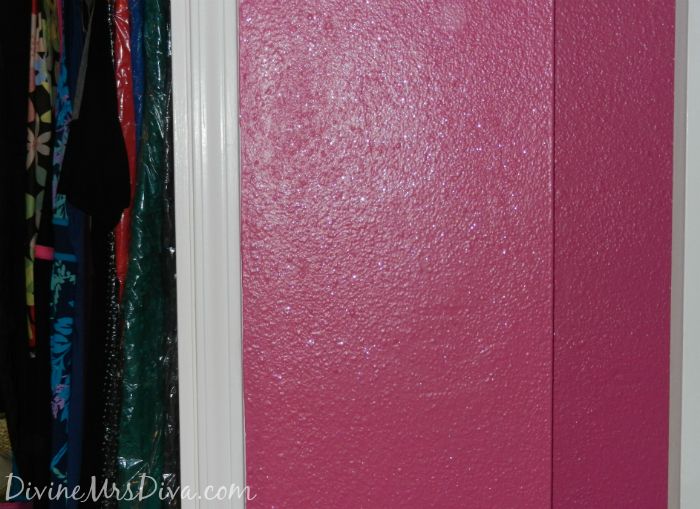
The next day we began adding color. I wanted the shorter walls to be my sparkly statement walls because they weren't going to be covered entirely by furniture. The longer walls of the room were painted a lighter pink to avoid the stark contrast of white with the deep fuchsia color.
During this time, we decided to paint the closet to give it a more polished look. I had no idea when we would have time to do it because my stepdad came into town for a quick weekend and we had a family BBQ to attend. My ever so helpful mother-in-law worked diligently to paint the closet white with the primer paint. I was pretty happy with that, but then I longed to paint it the light pink color to tie the room together. Had I known it would take me ten hours to paint that closet pink, I probably wouldn't have done it. But I am very happy with the end result!
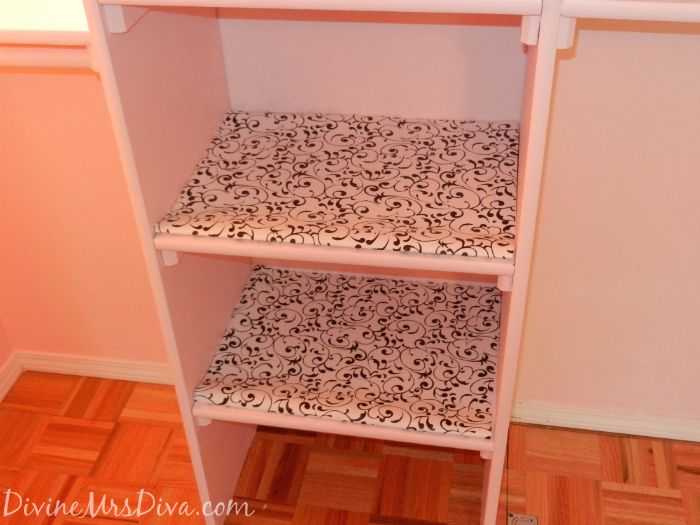
I spent a lot of time researching how I was going to decorate my room and what color scheme I wanted (black and white and fuchsia), so I was excited when I found this black and white shelf liner to add to the closet. It isn't really seen much with all my stuff nestled on top, but it adds some fun and cohesiveness to the whole scheme of things.
When we started to take the tape off, there were quite a few places where the paint wanted to come off with the tape. I had no idea you were supposed to take the tape off after every paint job. It would have taken us at least a week to finish the room if we did that. As it was, we only had three very long days. I was getting frustrated, so my husband sent me out and closed the door. He took off all the tape, vacuumed, and replaced some of the outlet covers in order to do a big reveal for me.
It is really hard to capture the sparkles in the paint in a photo. I plan on doing a little video for y'all so you can see the sparkles better. I used the Valspar Paint Crystals in Silver to achieve this. It is still way more subtle than I would like. Personally, I wanted solid pink glitter, but that would be quite expensive.
The paint crystals are a very, very fine glitter. The package says to use one pack per gallon, but I used half a pack per quart. How I wish I had just gone all in!! I'd do about five times that in the future. It turned out very beautiful still; It's just that it wasn't as glittery as the picture in my head. If you use the paint crystals, wait until the paint dries and then use a microfiber cloth to buff the walls for more shine. It makes a huge difference.
When all was painted, it was time to start the moving process. Here is a stitched photo of a majority of my things piled into the room. You can't see the eight large garbage bags filled with clothes and handbags, panties and bras, jeans and socks and pajamas. (But you get the idea.)
Next week, I'll take you on a tour of the organized space!!
Products used: Valspar Pantone Universe Paint in Cabaret, Behr Premium Plus Paint in Southern Beauty, Valspar Paint Crystals in Silver, and Black and White Grip Shelf Liner.
House Tour: Making of My Dressing Room
Saturday, October 19, 2013
Labels:
accessories,
closet,
clothing,
DIY,
dressing room,
home,
home decor,
house tour,
interior design,
lifestyle,
my house,
organizing,
storage
loading..
Subscribe to:
Post Comments (Atom)



Looks like the room is coming along nicely :)
ReplyDeleteI don't know if it's because the bed is gone, but the room actually looks larger now that it's not white. Is it just my eyes playing tricks on me?
Yeah, it kind of *does* look bigger with the contrasting wall...and it does look like it's amazing. I think you can play with the lighting a little to bring out the glitter. Maybe track lighting? (*refraining from Steel Magnolias joke*) Or, since it's close to the holidays and Walmart starts putting out their Christmas shit on Labor Day, you could get some of those lights in a tube and frame the doors and window...that way, it would light the walls from an angle and pick up the glitter flecks more. I think they even make pink x-mas lights now...or you can probably buy that tubing at Home Depot and feed white lights through it. (Although that sounds like a giant pain in the ass, even more so than re-threading the string through your hoodie or your yoga pants when it falls out.)
ReplyDeleteI think it does look bigger. The bed and nightstands weren't that big and they were the only furniture in the room, but I really think the bold walls just stretch it out somehow.
ReplyDeleteIt definitely looks and feels bigger than when the bed was in it. It is pretty crazy. We definitely have to work on the lighting more to get the glitter to really pop. In person, obviously, you can see it way better. I filmed a video for the post as well to try to show some stuff - glitter included.
ReplyDeleteI have 6 packs of pink Xmas lights left over from wedding decor stuff. I bet I could configure some kind of light fixture to maybe utilize those. Hmmmm.....I will have to play with it. We are hitting up Home Depot today for fencing for the doggy potty area, so if we have time, I will look around for ideas.