Happy Halloween, everyone! I hope you all have a safe and happy holiday filled with lots of laughs and candy!
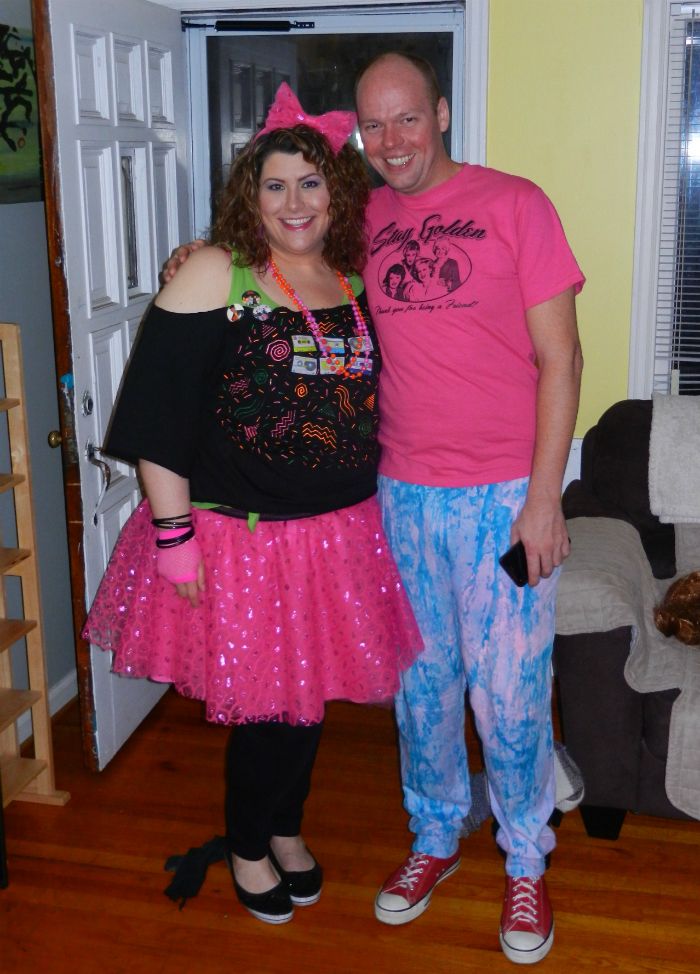
This summer, some friends and I were talking about attending an 80s river cruise party (that we still haven't done), so I was going to make my 80s costume. I had yet to break out my sewing machine I got for Christmas and was really hoping to sew the skirt I envisioned in my head. After all that work, I figured I would use it as my Halloween costume. Then we were invited to a Halloween-themed birthday party. And then Bunco night before Halloween was deemed 80s themed. Lucky me, I have gotten a lot of use out of my creations! This is part showing off my costume and part crafty tutorial post. While it is a little late for Halloween, it could come in handy next year or for your 80s costume needs.
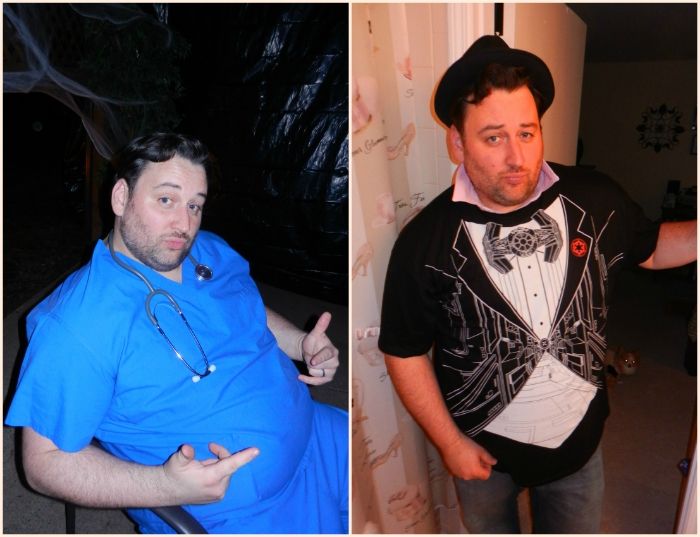
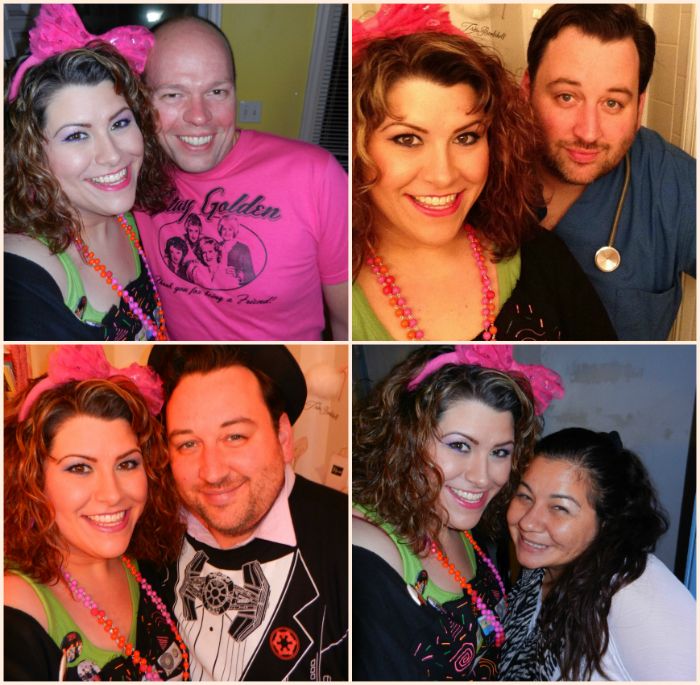
First up for my rockin outfit was a Halloween birthday party. It took me a few days to make everything, but I was really happy with how it turned out. It was my first time using my sewing machine and actually making a full-on piece of clothing. More on the How To portion below....Sean was a doctor for the birthday party and busted out his Star Wars Tuxedo Shirt for 80s Bunco night.
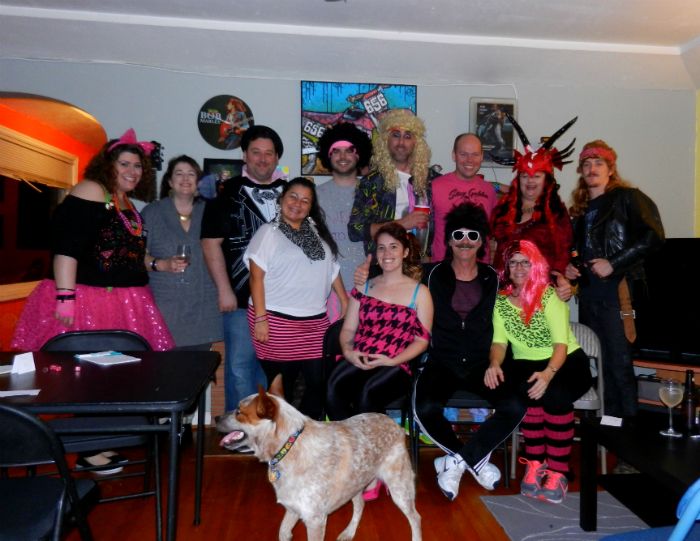
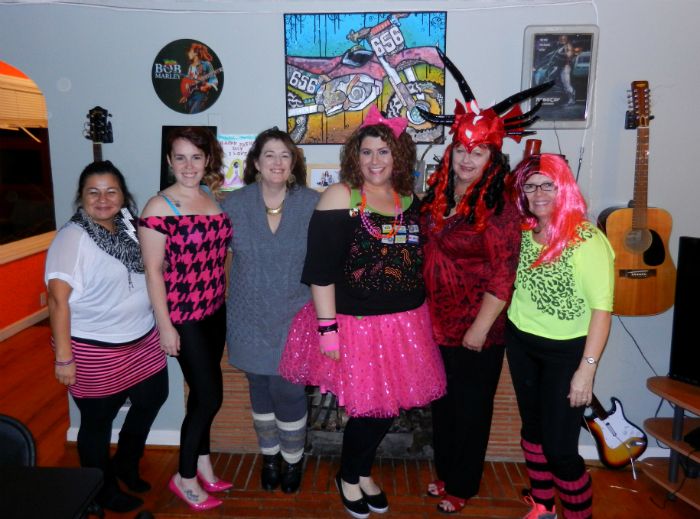
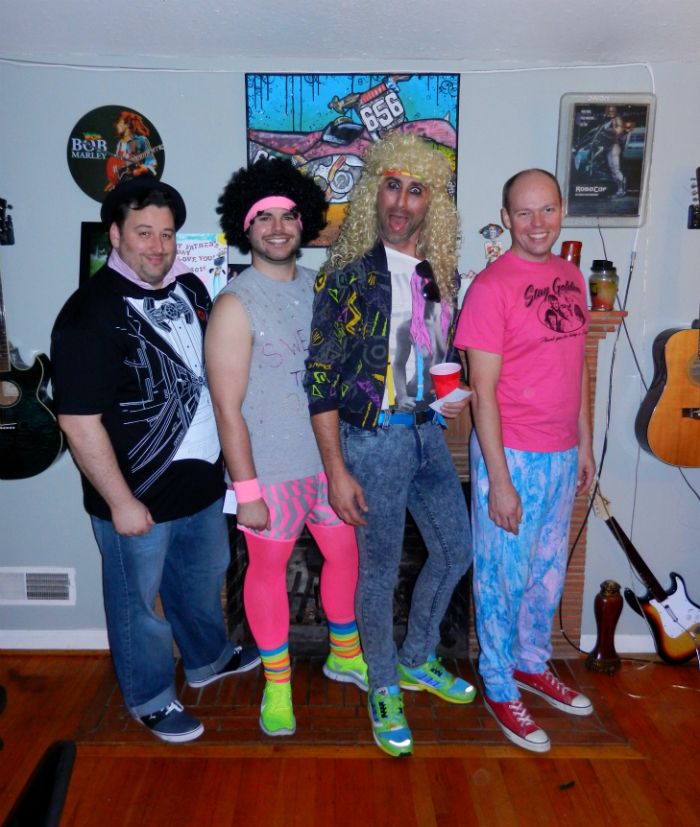
Bunco was a blast! It is our first costume themed gathering and certainly won't be the last. Everyone looked fantastic in their 80s best!
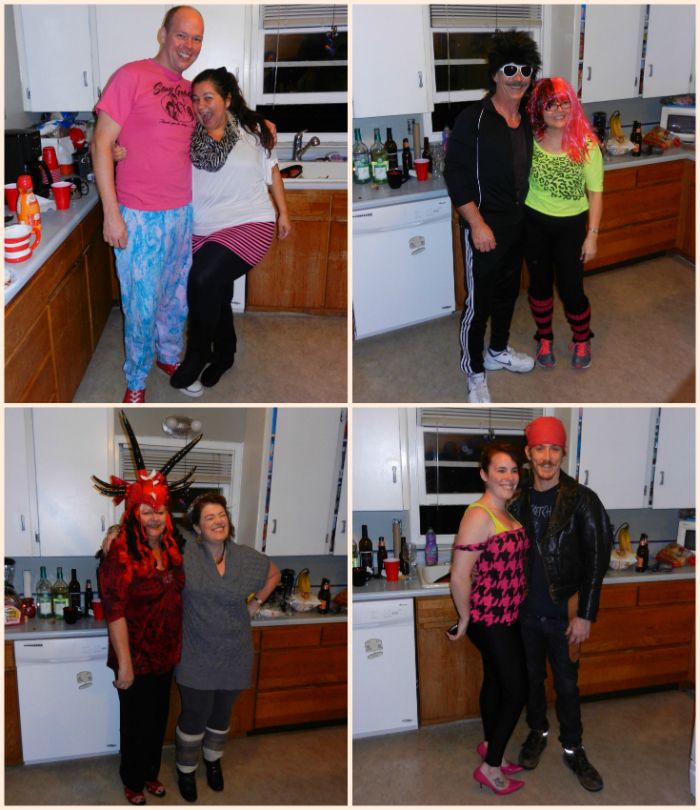
A few more snaps from the partying:
How Tos:
The Makeup and Hair
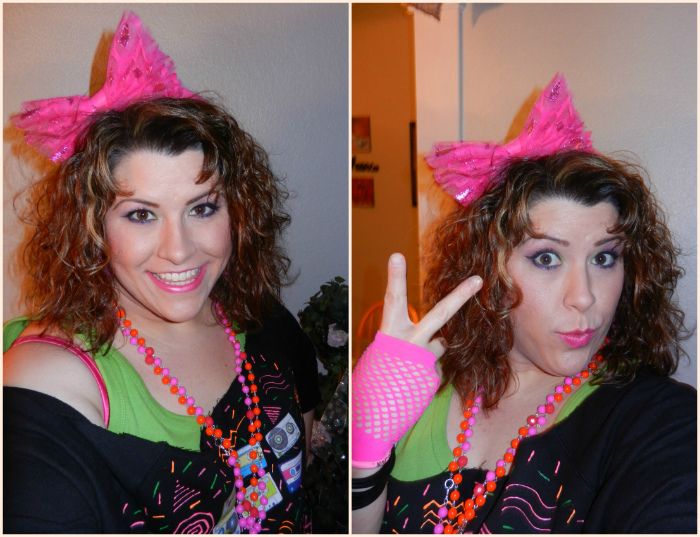
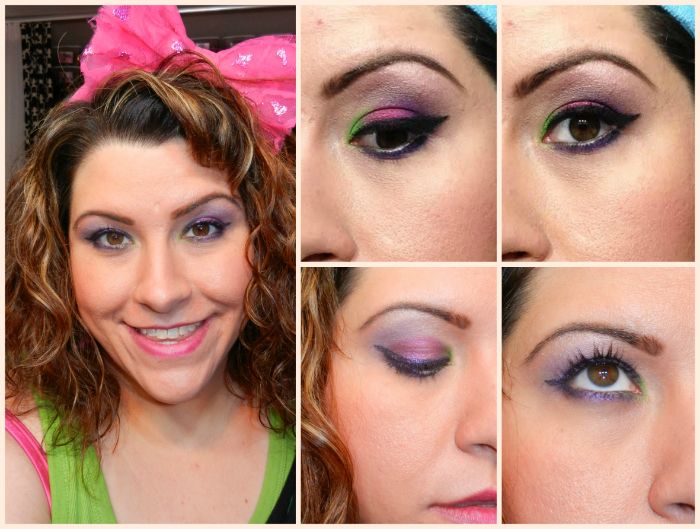
I wanted my makeup to be colorful without being too garish and blue. I pulled inspiration from my costume and went with green, pink, and purple color-blocked shadow and heavy black liner for the first night (I used Smashbox gel liner. It stays on and does NOT budge). The bottom lash line was black liner blended into a dark purple. I just felt like the winged liner was so thick, it was hard to see anything but the green peeking out. For Bunco, I wanted something a bit lighter and not as dark as my first attempt. The color-blocking didn't turn out as well because my pink shadow blended in with the purple too much. Also, the green was barely noticeable in its tiny inner corner spot. I used black liner again in a much thinner line and went over it with a metallic purple liner from Hard Candy. The bottom lash line I used two different purple Urban Decay liners blended together. Both nights, I added glitter eyeliner on the bottom lash using Urban Decay's Heavy Metal Glitter Liner in Spandex. Comparing both, I think the first attempt turned out better, though I like the not-so-heavily lined aspect of my second attempt.
The hair was pretty simple for me. I utilized my natural curly/wavy hair by first added a volumizing mousse to the roots. I then dried my hair with a diffuser while holding my head upside down to create more volume, scrunching as I went. Once that was done, I held up sections and teased them underneath and spritzed a sea salt spray to give more hold and thickness. Once your hair is as poofy as you can stand, flip your head upside down and unload a can of hairspray on it. Flip it up and work strands into place before unloading the hairspray again. Fluff, scrunch, fluff, repeat, until you get your desired look. Sometimes I hold sections up and hairspray underneath them and let them dry standing up to give more poof. Hold up your bangs and spray them, allowing them to dry before you let go. You can use a hair dryer to speed up the process.
The Skirt
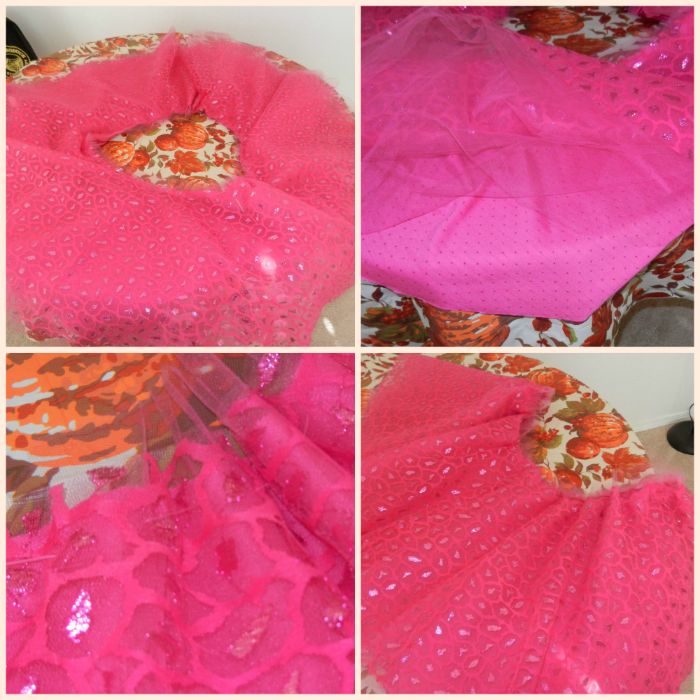
The skirt was a labor of love, as I was using my new sewing machine for the first time. I really didn't want to mess up and am so hard on myself in these situations. It turned out great though! I followed the Tulle Skirt tutorial from The Maria Antoinette blog. While the text of her post can be a little confusing, the video was much better at showing how to make the skirt. The measuring process was accurate and very helpful. I found a great reversible knit as my lining, used hot pink tulle from my wedding decor for my five layers of tulle, and added a sparkly leopard print tulle on top. I think I could have gotten away with three layers of tulle underneath because when all was said and done, I ended up having to trim the tulle inside the skirt so it would be a little less poofy.
Some things that weren't talked about in her post:
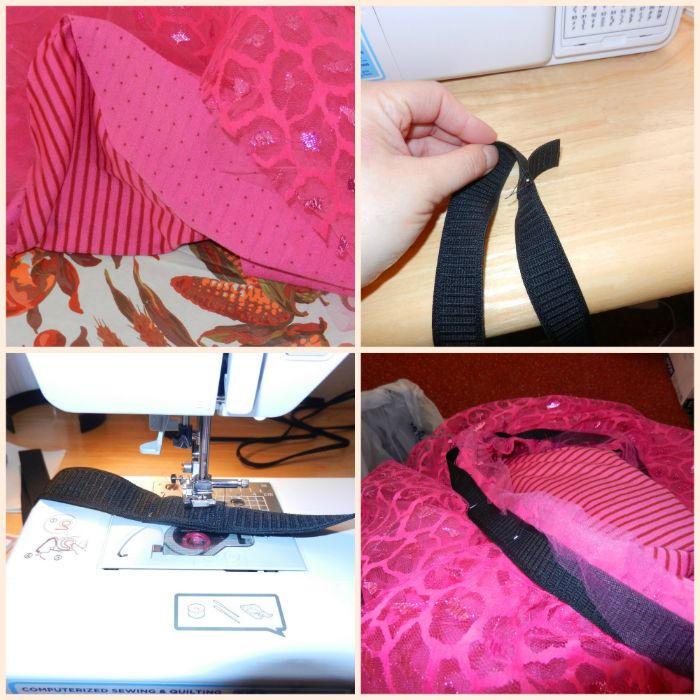
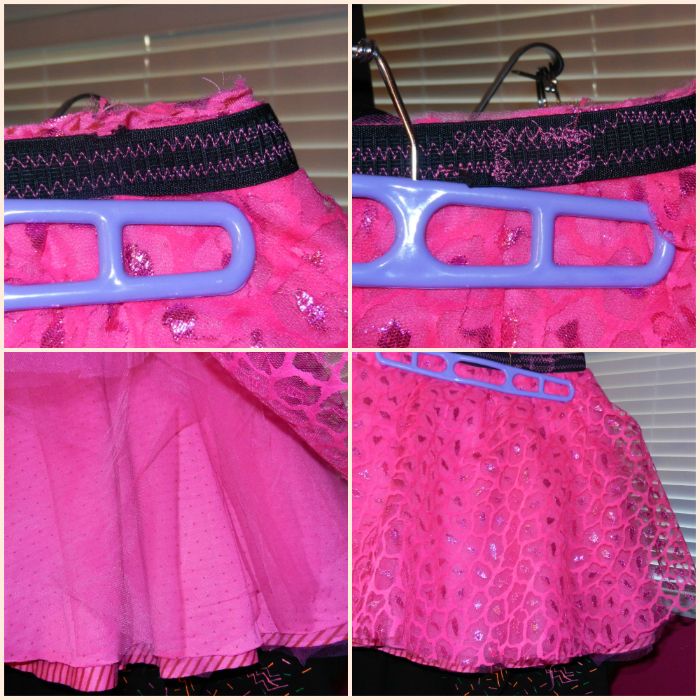
- When sewing the elastic, use a zigzag stitch to account for the stretching. I sewed all four sides of the overlap and adhered the tulle to the waistband in two parallel zigzag stitches.
- If you are a plus size chick like me, account for the length you want your skirt when acquiring fabric. I used about 1.5 yards per layer, but my skirt was only 17 inches long. My hips measure in at 63 inches, so if you are around that and you want a longer skirt, you will need twice as much fabric. I would really love to try to make another full skirt with the leftover knit I have, so if I can do it, I will post a separate tutorial because that skirt will be longer.
- You will need to trim the top and bottom of the skirt unless you take the extra time to cut it perfectly or finish it all nice and neat. I knew my waistband wasn't really going to show, so I didn't worry about it.
The Hairbow
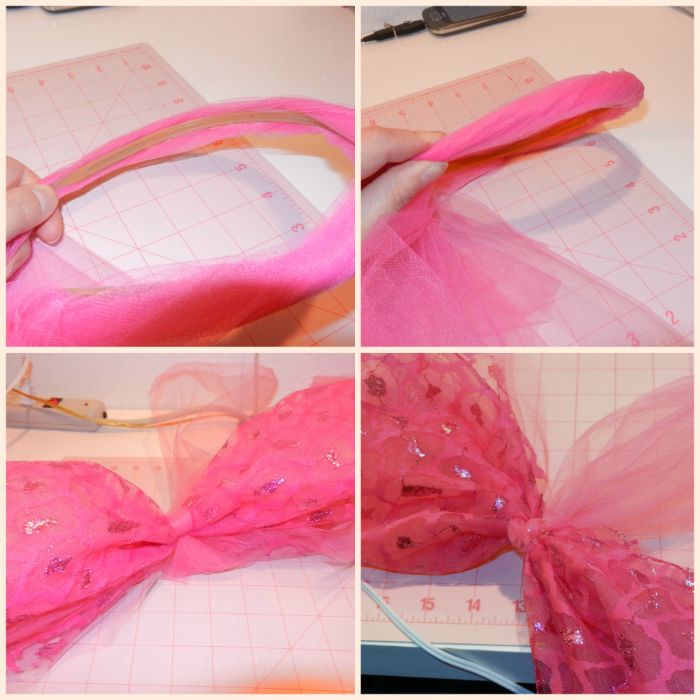
Save your small circles of fabric from cutting skirt layers and use them to make a giant hair bow! I took a skinny, no-slip grip headband (you can use any color) and a long strip (roughly 20 inches or so) of about 4 layers of tulle and twisted it, hot gluing it to one end of the headband. I worked my way around the headband, twisting the tulle into a loose rope and hot gluing it to the headband.
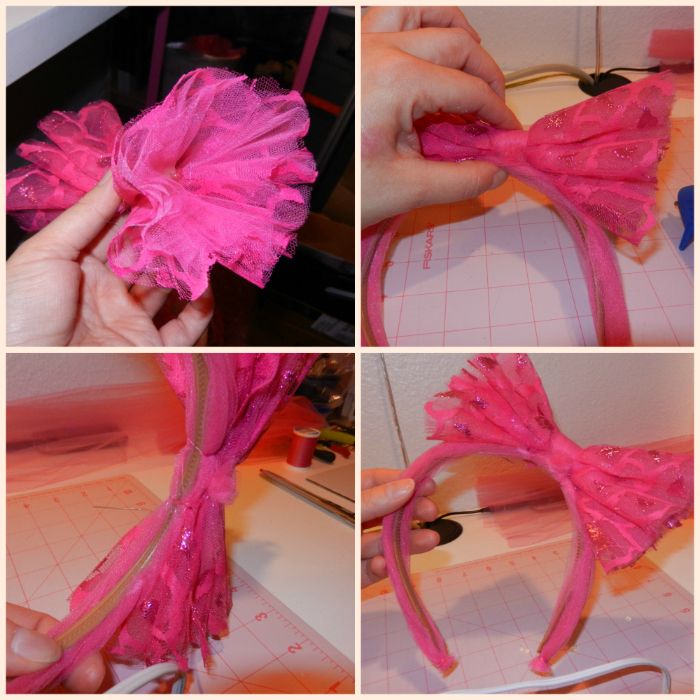
I laid out my circles of tulle (about three or four layers with the leopard print one on top) and gathered them in an accordion shape. Pinching it in the middle to form a bow shape, I tied another long strip of tulle in the middle of the circles to make the bow. Tie it really tight! Cut off the ends and dab on some hot glue to seal everything.
Next, I drizzled some hot glue inside the ends of the bow and pressed it together to form a little more of a flat bow. This helped cut down on some of the crazy poof and shape the bow. Once the actual bow is shaped to your liking, hot glue it in place onto the headband. Make sure you try the headband on first to find the exact place you want the bow. Once the glue cooled, I used my pink thread to attach the bow to the headband in a couple of places. This just adds extra security. I also sewed the ends of the tulle (at the tips of the headband) and added extra hot glue to keep the ends in place.
The Sweatshirt
This one was a lot of fun! It turned out just like I envisioned, which is always an awesome thing. I bought a slightly over-sized black sweatshirt in the men's section at Wal-Mart. You don't want it TOO over-sized because once you cut the neck, it gets really loose. I bought mine in a 3X.
If you are an expert shirt chopper, pay me no mind. This was a learning experience for me. I turned the shirt inside out and put it on, hoping to use chalk on the inside to map out the way I wanted to cut it. I couldn't find my chalk, so I used sewing pins to mark out a line where I wanted to cut the shirt. For me, I wanted the lower shoulder on the right side, so keep in mind that when wearing the shirt inside out the right side is the left side. Does that make sense? Map that out accordingly. I would also add that you should cut sparingly at first because a little goes a long way. I cut mine about 4 inches too much, I feel. It loosens up a lot with minimal cutting. Keep cutting it and trying it on if you have too.
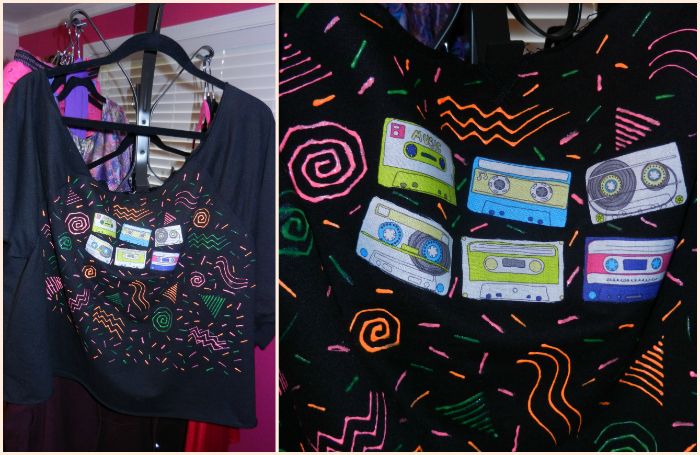
I cut off the bottom band and shortened the sleeves. To make the sleeves the same length, remember one side is going to need more cut off. I found these awesome cassette tape iron-ons on Etsy and arranged them on the shirt. Again, wear the shirt and pin the cassettes in place because a straight line on the shirt when you are laying it out is not a straight line when you put it on. Check and double-check.
I ironed on the cassettes as directed and used neon fabric paint for the rest. I used the Saved By The Bell graphics as inspiration!
In addition to the items I made, I added the following (yes, I already owned all this stuff, except the gloves):
- Black Leggings
- Glittery flats
- A neon green tank, tied in a knot on one side. (It is pretty long otherwise.)
- Neon pink fishnet gloves
- Black rubber bracelets
- Big pink hoop earrings from the 80s
- Bright colored necklaces from Kohls
- And I always have to give a nod to New Kids On The Block, whether it makes my costume chronologically inaccurate or not. I added my neon pink NKOTB bracelet and some of my first New Kids buttons from 1988/89. These also helped to hold my sweatshirt up a little higher too.
- Also, my purse was a black and hot pink tiger striped little satchel from Old Navy. I was pretty proud of how perfectly it went with everything.
Hopefully you found this helpful, or at least entertaining. If you have any questions, leave a comment and ask away!




No comments