I've been so happy to put more time into nurturing my creativity and working on DIY projects this year. It has brought me solace and joy and makes me feel good when I create something from a picture I had in my head. I was thrilled when Sola Wood Flowers reached out to me and asked me to create a tutorial from their beautiful wood flowers.
This was my first time working with wood flowers. I love the different textures, shapes, and colors offered at Sola Wood Flowers and was very impressed with the overall look and feel of these. There are so many different options to choose from, so I was struck with inspiration immediately! In fact, as soon as my allotted shipment came in, I went back to the website and bought a couple more themed kits of flowers to work with.
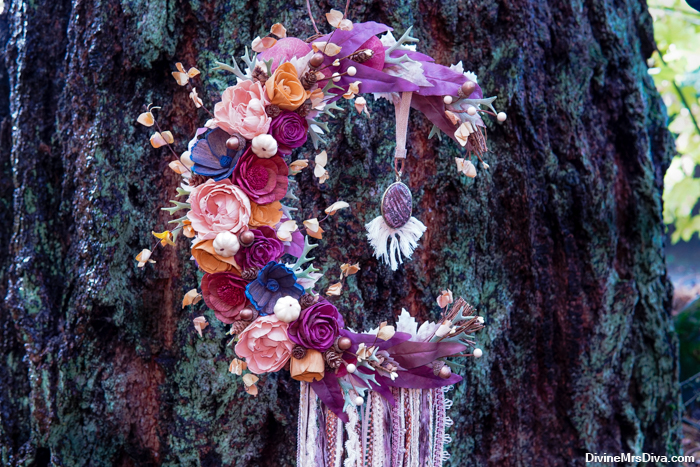
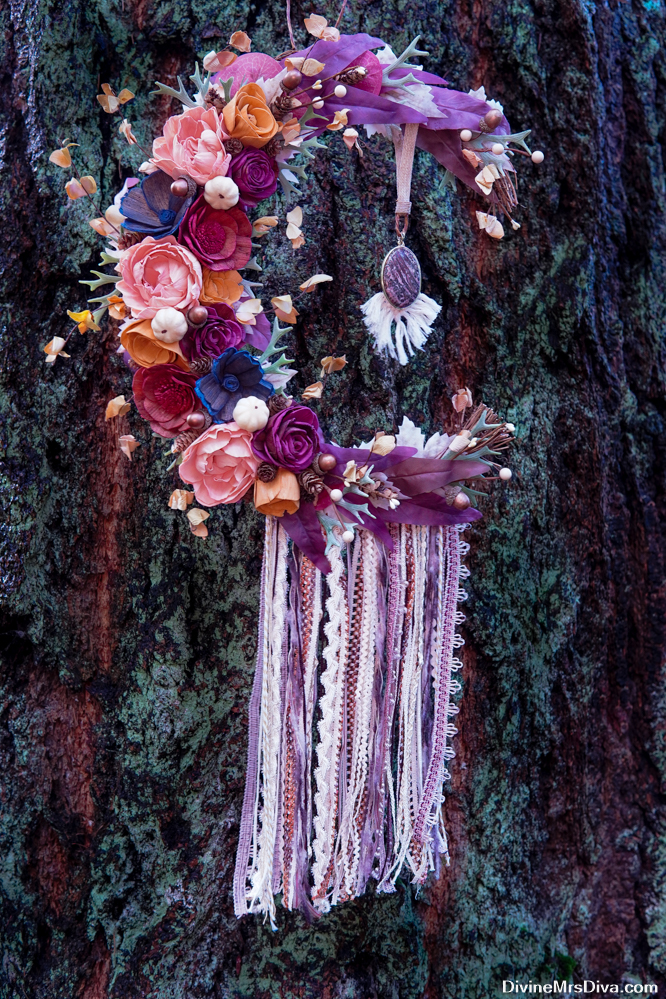
In this post, I'm showing you how to make a fall-themed crescent moon wreath! I wanted some non-traditional fall colors and had a blast bringing my vision to life. I have also included a video tutorial in case that is helpful. Happy crafting!
- Sola Wood Flowers gifted me the wood flowers in this post. All opinions presented are my own and without influence. This post contains affiliate links and I make a small commission if you make a purchase after clicking on my links.
-
What You Need:
- Sola Wood Flowers
- I used the Legends of the Fall Assortment
- Bushes, leaves, and greenery
- Grapevine garland
- Glue gun and extra glue sticks
- Wire cutters
- Brown floral wire
- Ribbon
- I used the 3/8" Jute Ribbon for the pendant & the Natural Scrap Trim Bundle for the bottom of the moon.
- A pendant or decoration to hang
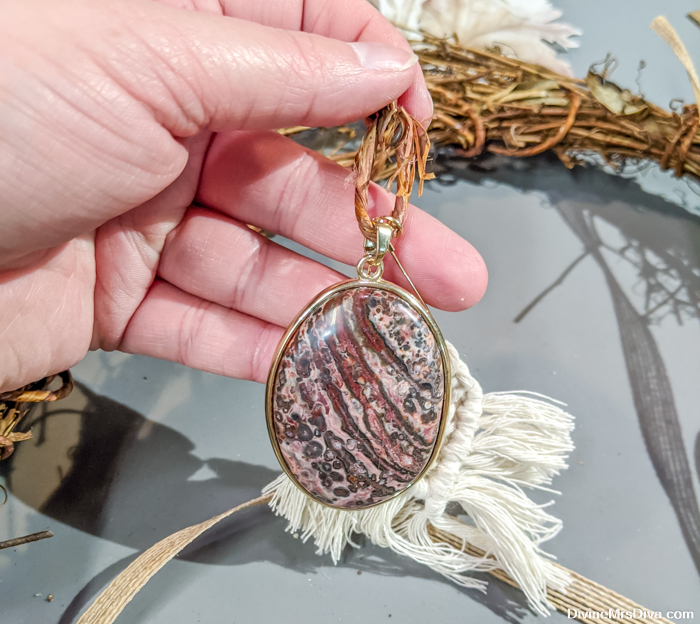
- I combined the Red & Brown Jasper Pendant with the Cream Macrame Fringe Pendants
- You could use a wire-wrapped gemstone, wooden letter, figurine, ornament, etc.
- Other adornments to match your theme
- I used the Cream Pumpkin & Berry Garland, small pinecones, & bronze acorn picks
Step 1: Make your moon frame
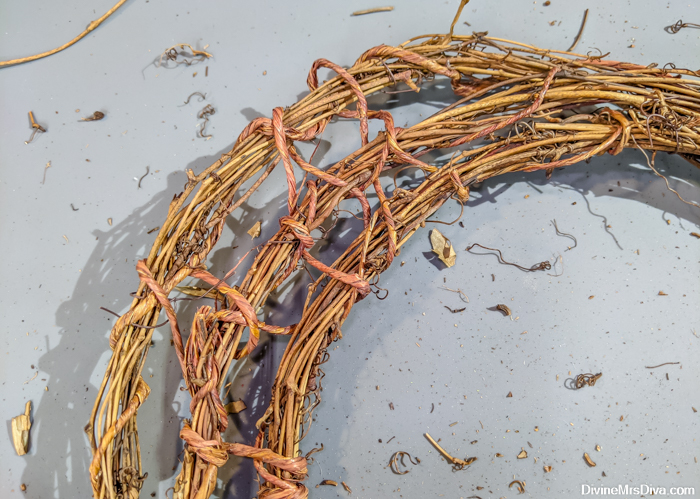
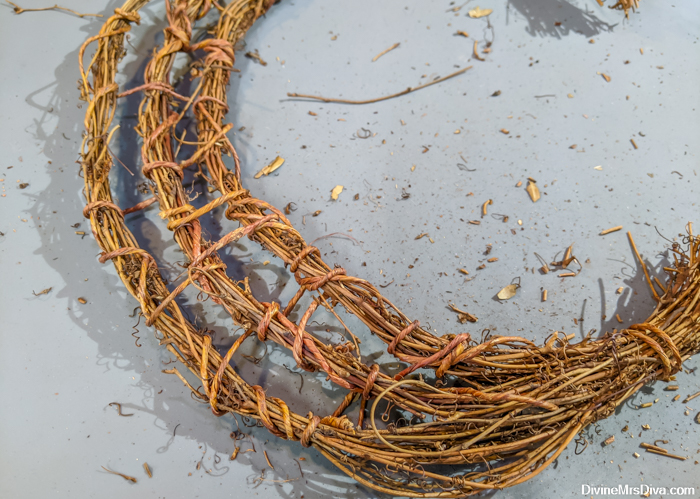
To begin, start by unrolling your grapevine garland and deciding how big you want to make your moon. Cut 3 lengths of that size and stack them side-by-side. Using the brown wire, secure one end of the moon together before shaping the moon and securing the other end. Each length of garland will be equally spaced to give you sufficient room to decorate your moon!
To add sturdiness and more surface area for your decorative bits, wrap each length with brown wire (you can do this before you secure them together to make it a little easier). Then weave the wire over and under the segments of garland in the entirety of the open space of the moon. Use hot glue to secure the ends where needed.
Step 2: Begin layering your base
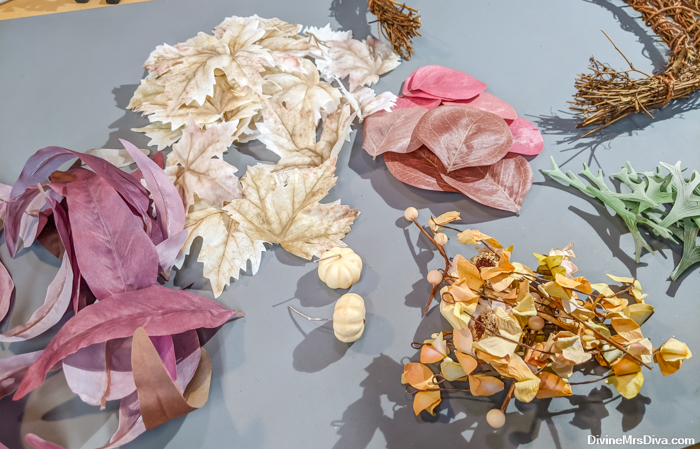
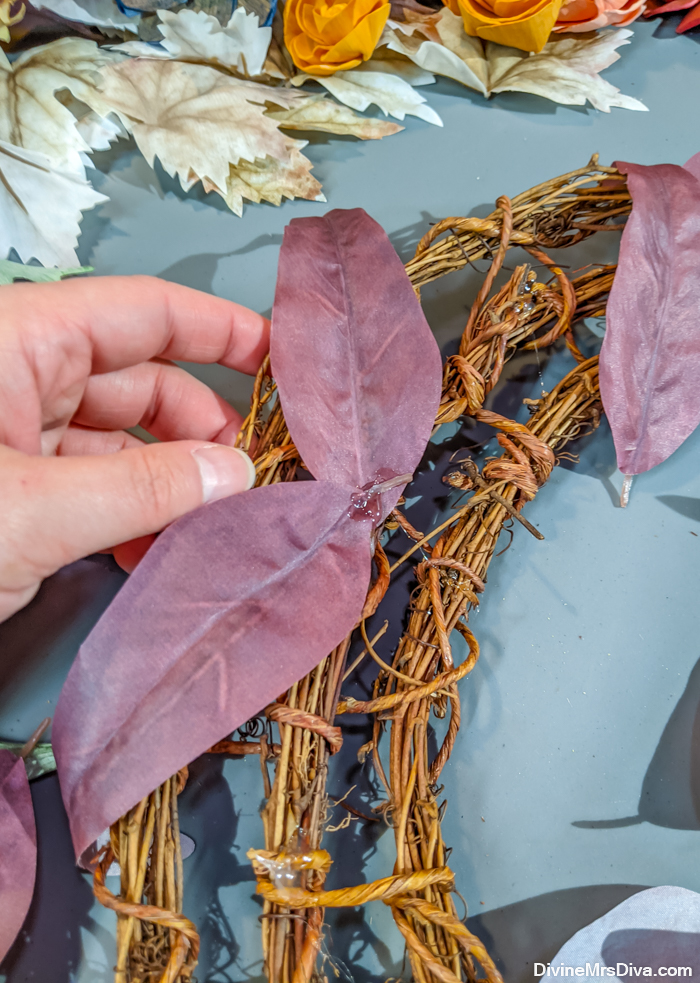
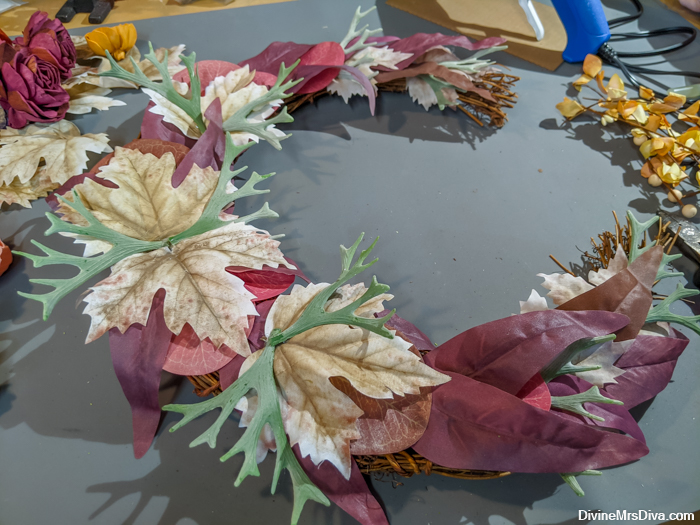
Cut a good amount of leaves from your chosen bushes and begin setting them on the moon shape to figure out how you want to layer. I started with the long purple leaves first because I knew I wanted the cream leaves under the flowers to make them pop. Once you've decided on your arrangement, begin hot gluing the leaves to your moon shape.
After affixing the purple leaves, I added red ones to fill in empty spaces, followed by cream leaves and little green antler leaves for more color and texture.
From there, I added wire pieces I could easily move around as I applied the flowers later on. Wire leaves and berries brought in more warmth and complemented my chosen color combination.
Step 3: Add your flowers & extras
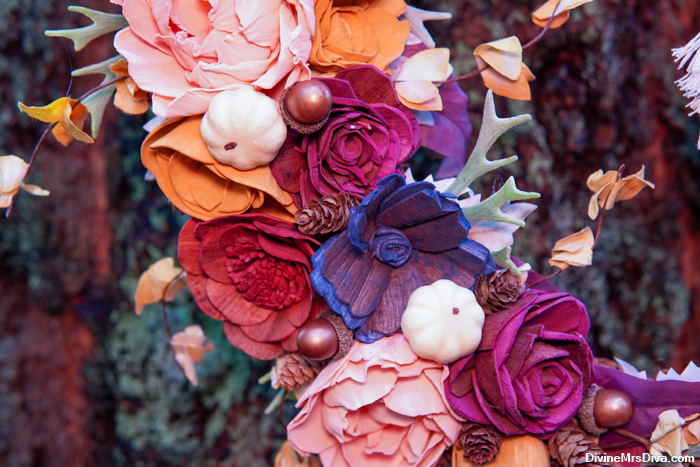
As you did with the leaves, loosely arrange your wood flowers along the moon to prepare your design. I started with larger flowers in the center and kept the design pretty even on top and bottom. However, I did switch up the colors above and below the center and used the smaller flowers to fill in some gaps and distribute the colors a bit more. I wanted the warmer tone of the small mustard flowers to enhance the fall theme, so I made sure they were sprinkled throughout.
As you are gluing down your flowers, which is really easy because they have a nice stem base, make sure you move your wire elements around to suit your design.
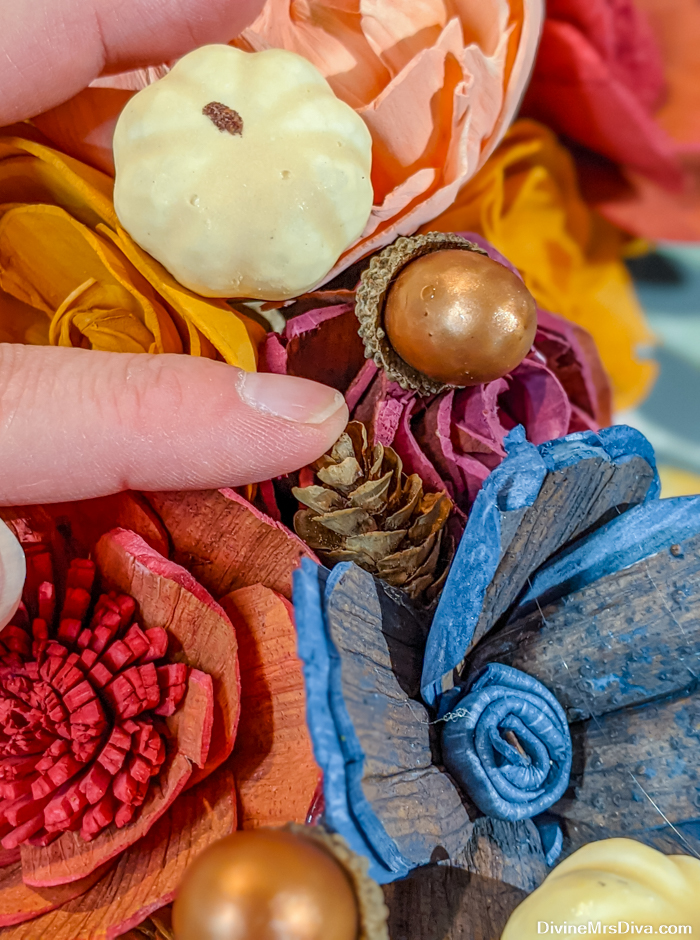
Fill in small spaces and gaps with the extra bits and bobs you've chosen. I added small cream pumpkins, bronze acorns, and wee pinecones to the mix. Carry those textures to the ends, though the top can be a little more subdued since we will be hanging a decoration from there.
Step 4: Add ribbon
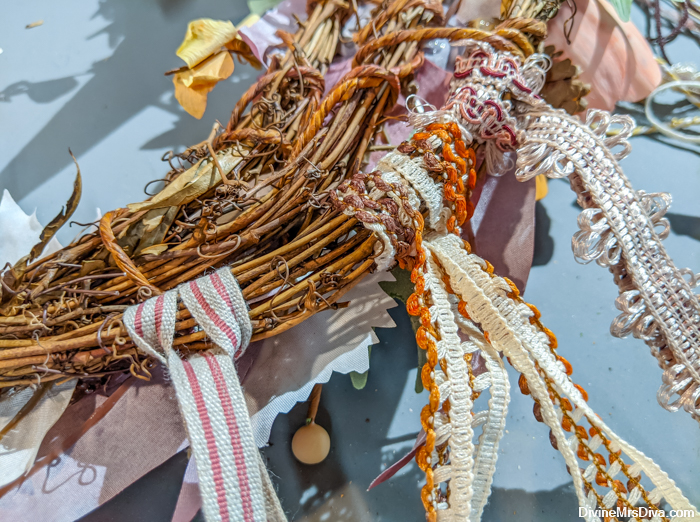
Cut lengths of your chosen ribbon to size and begin looping them around the outermost edge of the bottom of the moon. The ribbon I chose came in a large scrap bundle that was already cut pretty evenly, so I just folded them in half and begin looping them on the garland. When you get to the outer point, you may need to just glue the ribbon to the back of the moon. Another option is to do this step first before you start laying your base of leaves.
Once your ribbons are in place, make sure they are tightly secured and use hot glue along the back to keep them secure. Trim the ends as desired.
Step 5: Hang the pendant
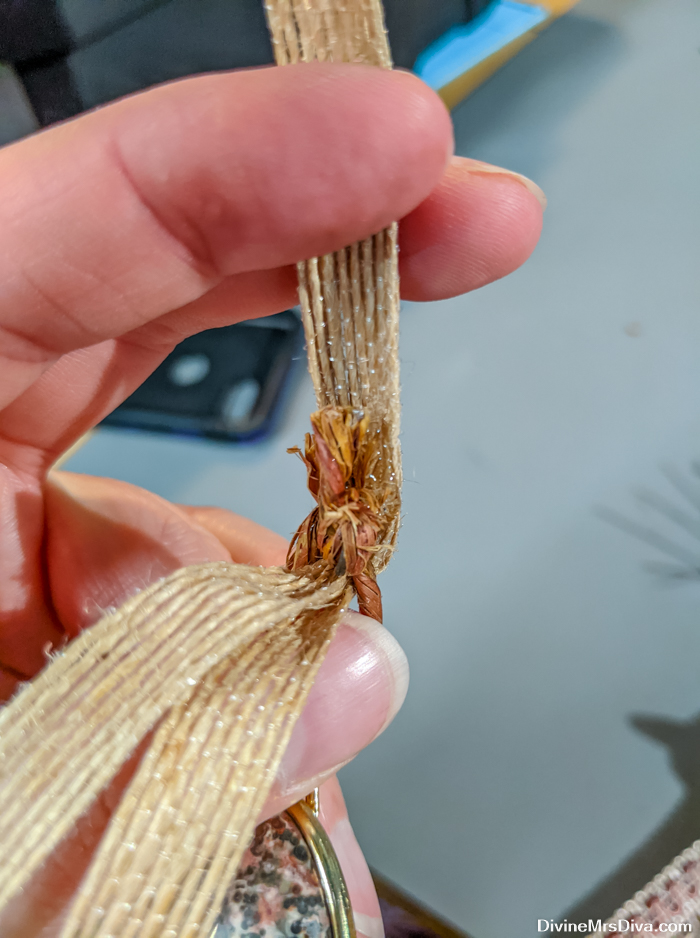
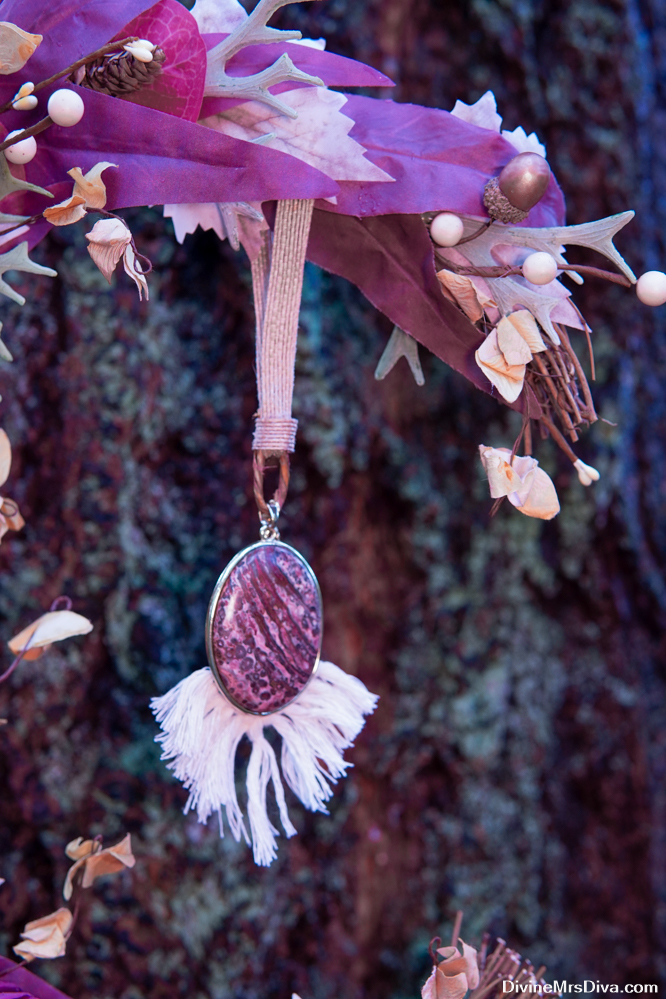
Now it is time to prepare your pendant. Since the ribbon needs to loop front to back, but the pendant has a side-to-side finding, I first used some wire to layer my hanging pieces together and ensure the ribbon would be in the orientation I intended. I used hot glue to secure the ribbon to the wire and finished it with an extra piece of ribbon to disguise the wire and give it a seamless look.
Tie this pendant ribbon from the top of your moon, making sure the knot is in the back. Secure it in place with hot glue.
Now you can hang your moon piece up and enjoy it! The brown wire that you wrapped around the garlands makes an ideal hanger and can be manipulated into a specific shape if need be.
Step 6: Admire your work!
Have you used Sola Wood Flowers? What would you make with them?

















No comments