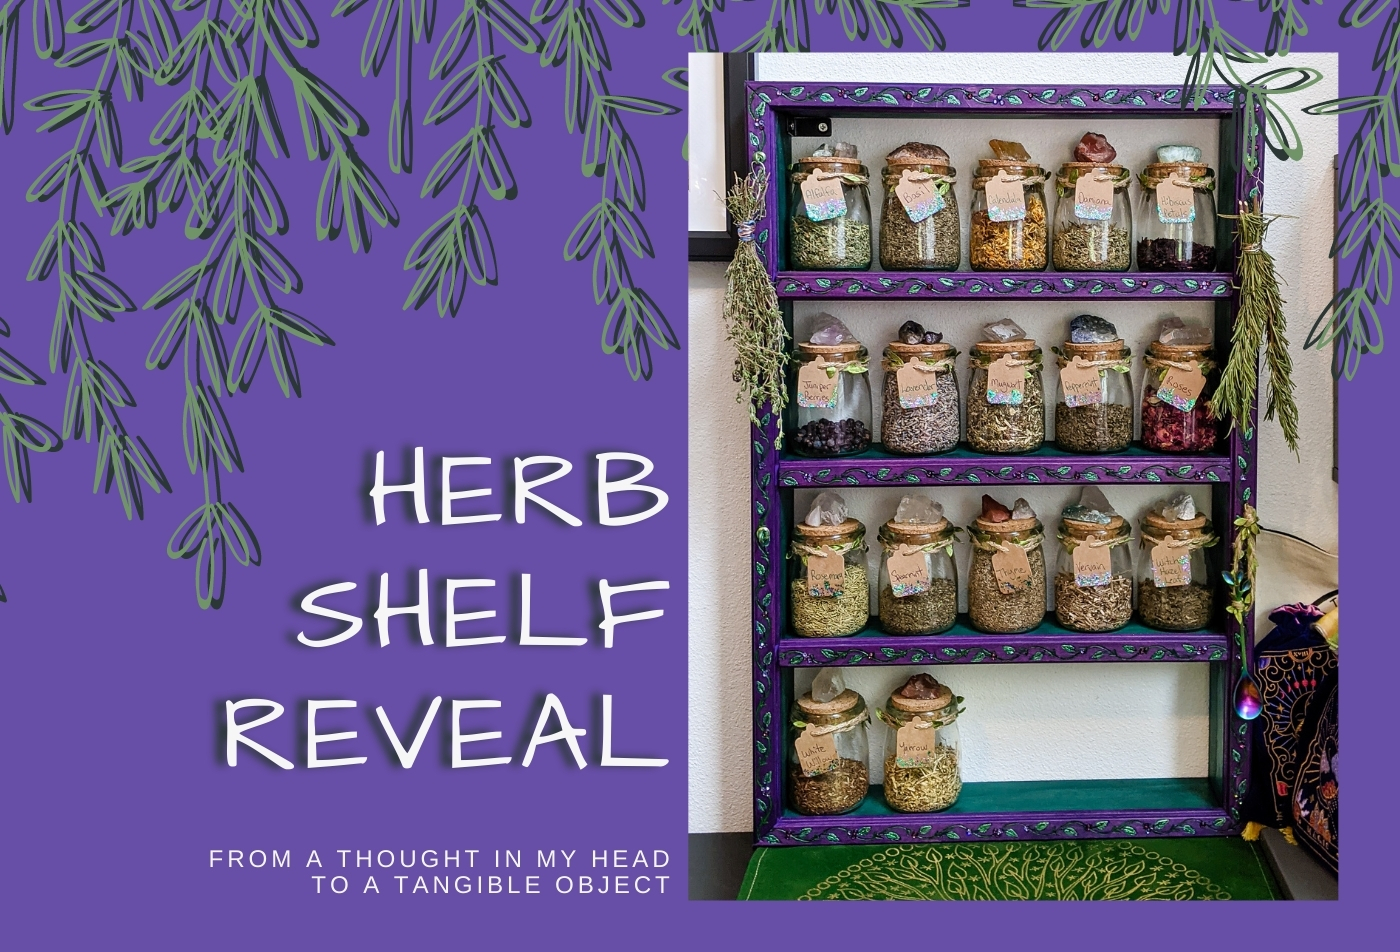
I designed an herb shelf! As I mentioned last week, I've been focusing a lot of my time here at home on DIY and craft projects. I'm not leaving the house much, so I'm not getting dressed or taking any outfit photos (except for my neighborhood walks in my new activewear, which I plan to do a little post about soon). My depression has been really bad and the weather has been way too hot, so it is just easier for me to stay at home right now.
Other things I've done over Quarantine include beginning my own personalized spiritual practice and delving more into that by starting to learn about herbs and their properties. I bought dried herbs and little jars to keep them in to really get hands-on with learning about them. Then I needed a place to house the little jars full of herbs, so I dreamed up an herb shelf of my very own. I drew out the plans, made the measurements, decided on colors and the look I wanted, and enlisted Sean to do the parts I didn't feel competent enough to do.
Now I can finally reveal my little project to you! My herb shelf was made to look a little Old World but sprinkled with fairy dust, inspired by the greens and purples of Scotland as a nod to my Celtic ancestors. It turned out looking EXACTLY as I pictured it in my head, so I am very proud of it! 😊
- I bought the items in this post. All opinions presented are my own and without influence. This post contains affiliate links and I make a small commission if you make a purchase after clicking on my links.
-
 |
Sean took my specifications and constructed my shelf from 1-inch by 3-inch unfinished pine board. He ended up making the shelf a little bit wider than my plans. |
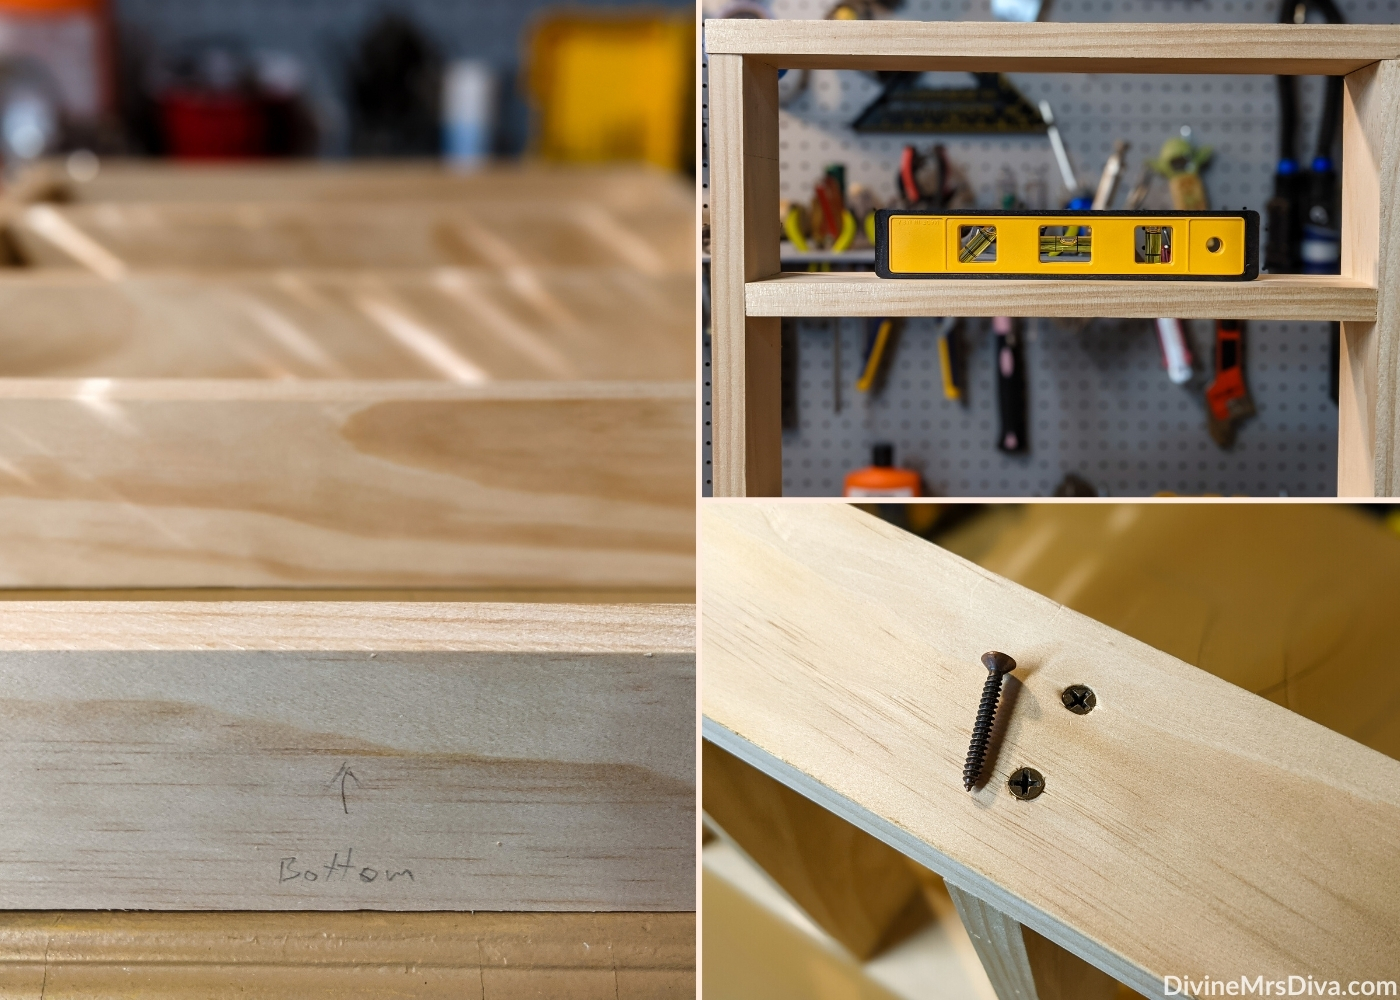 |
| He put together the outside pieces first, then he made sure all the middle shelves were level. Because of the aesthetic I was aiming for, he managed to find some antique finish screws to keep the look cohesive. |
 |
| Next, he cut the trim I chose at 45-degree angles so they would all sit nicely. (I LOVE the decorative ivy design on this moulding!) |
 |
| His cuts were a little off, so he used the block sander to straighten things out. |
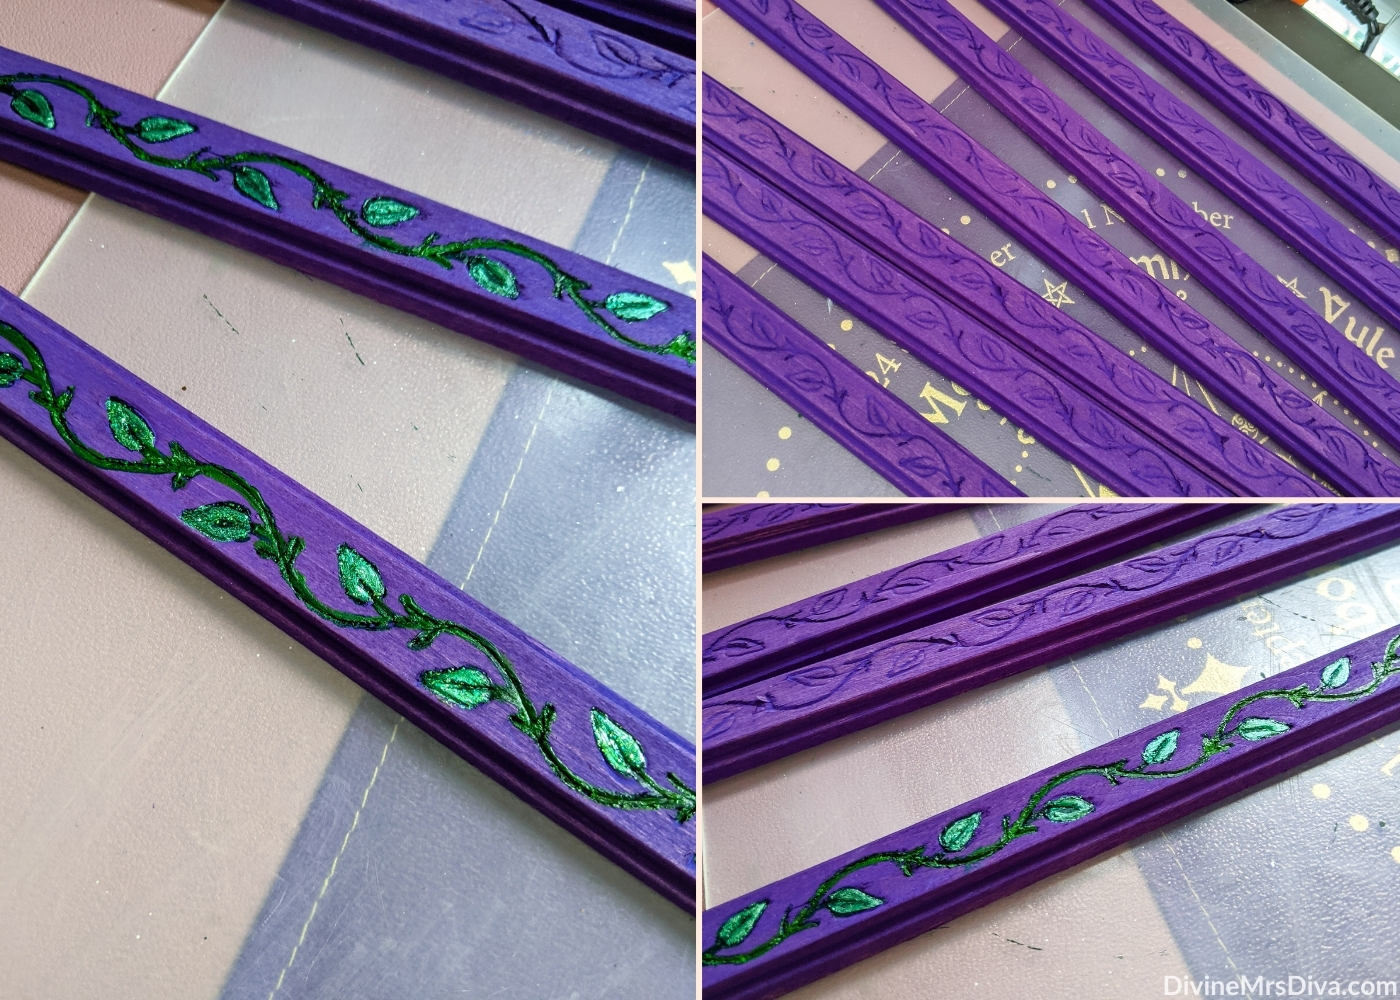 |
Then I came in and began to jazz things up! First, I stained all the pieces with Unicorn Spit Gel Stain in the color Purple Hill Majesty. I did about three coats. Once that was done, I began painting the ivy engraving. I went over the whole design with dark green paint, then I added dark green metallic paint all over, light green metallic paint to the leaves, and then went over the leaves again with green glitter paint. This process took the better part of a week. |
 |
Once the trim was painted, Sean anchored the pieces to the main shelf with tiny nails. The main shelf unit was stained using Minwax Water-Based Wood Finish in Hunter Green. This was about four coats. |
 |
I went in with Minwax Oil-Based Polyurethane in Clear Satin to seal the entire shelf. I only did one coat because my shelf won't be in an area where it will get a lot of traffic and wear. This sealant did darken the purple stain a bit (which I was a little bummed about), but it also brought out the wood grain (which I like the look of). We were also staining and sealing during the big heatwave, so we'd wait until 11PM to try to get various coats on, with the fan blasting our direction! |
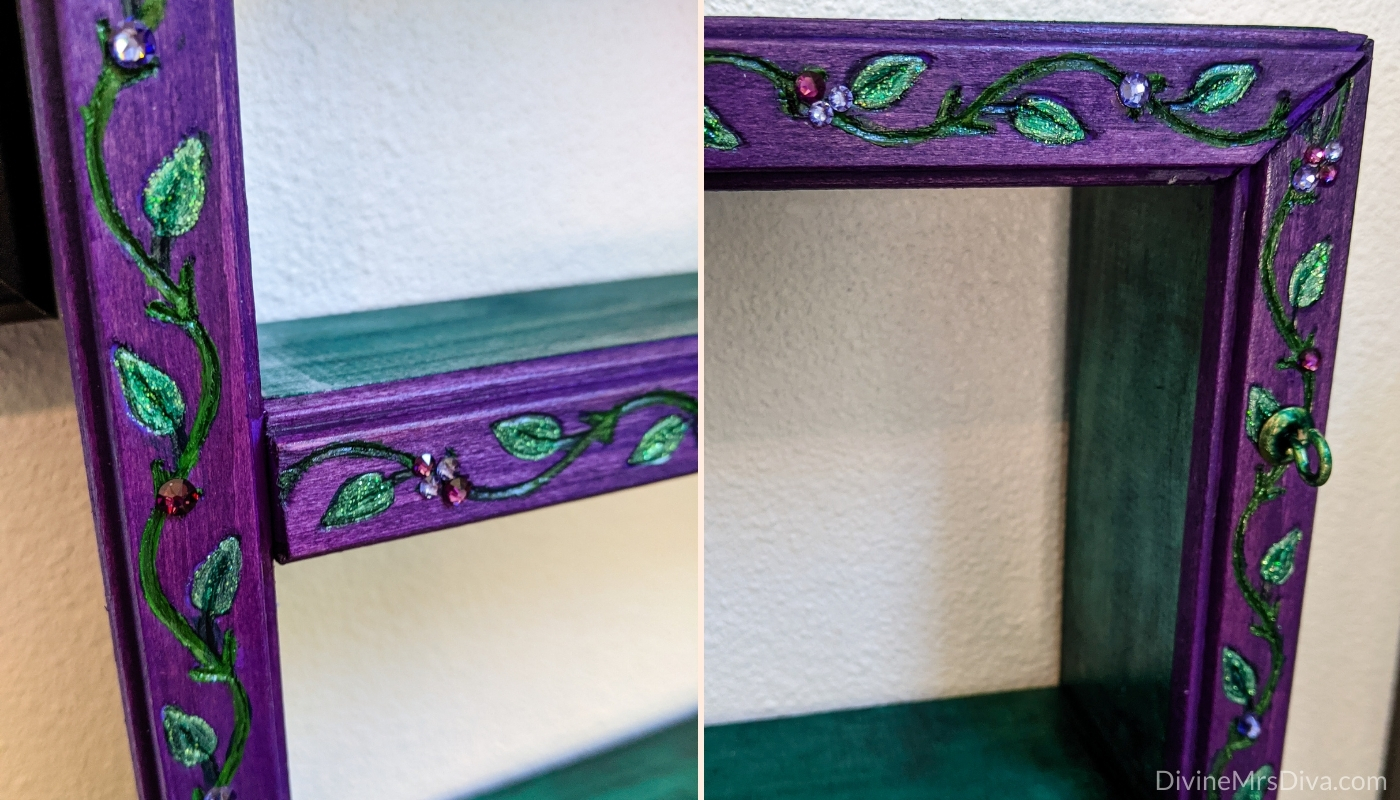 |
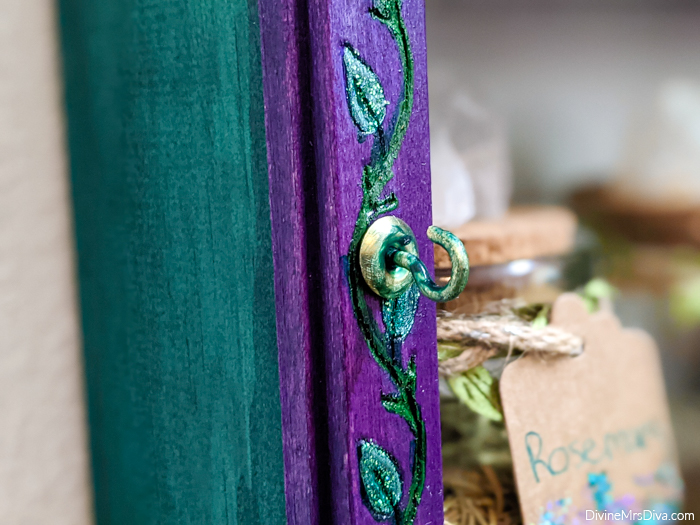
To hide the tiny nails, I went in with Art Glitter Glue which dried clear and quickly, and glued little purple Swarovski rhinestone clusters all over the trim. Sean also found the little hooks I wanted for the sides of the shelf, but they were a shiny bright gold. He sanded them down and we dipped them in the green stain to give them a little bit of an aged look. |
 |
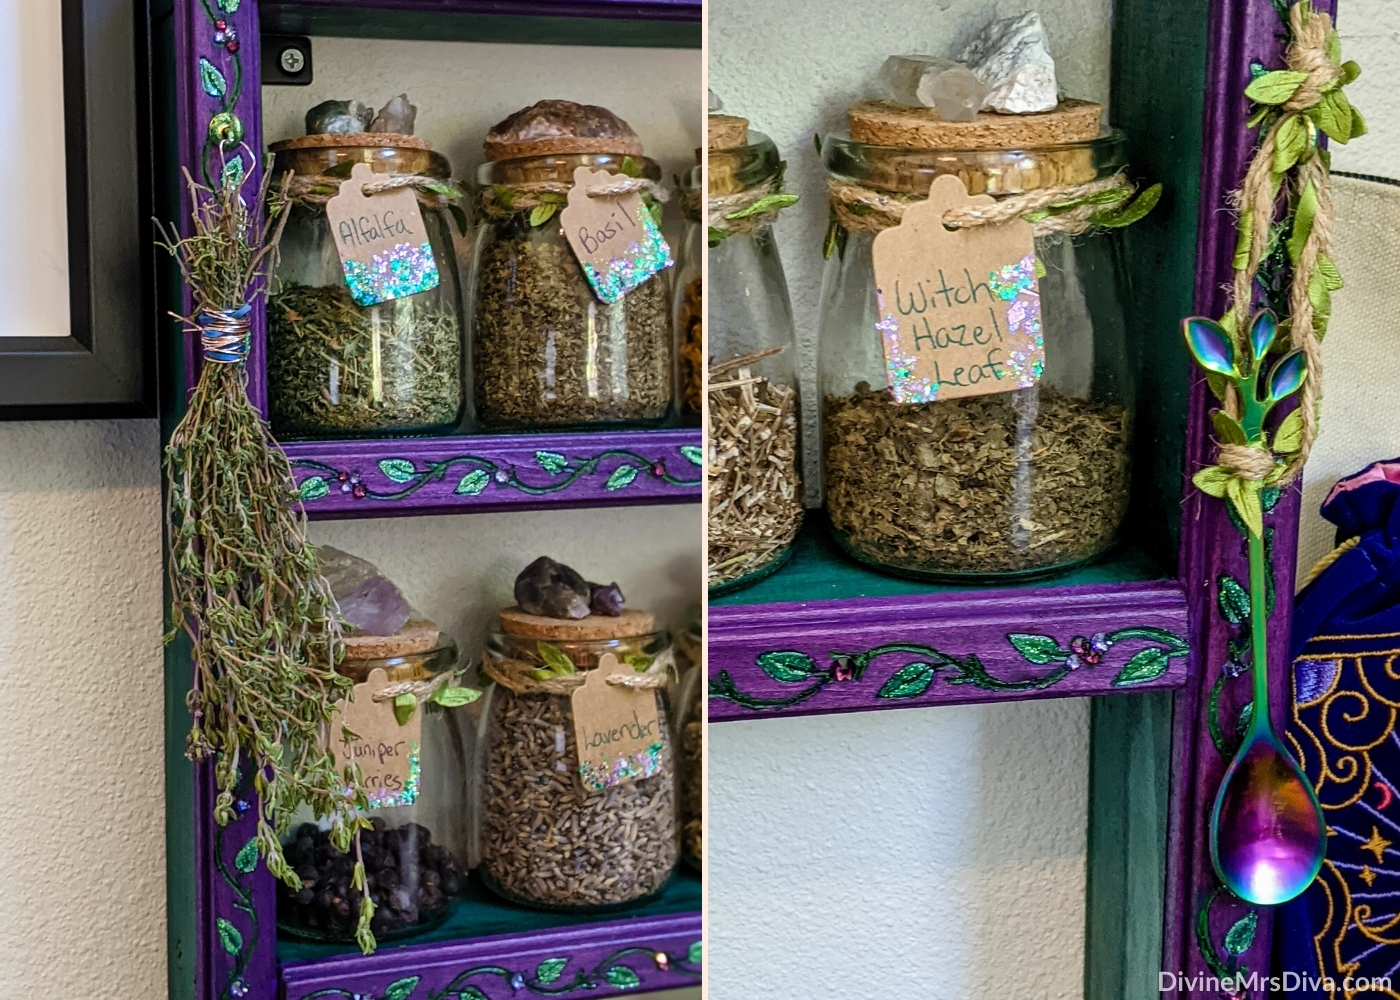
Meanwhile, I bought these mini jars and raw stones/crystals mix. The jars came with a thin twin and the label tags. I decided to go with some twine I already had to add the tags to the jars. Using green and purple pens, I wrote down all the names of the herbs I had. Then I slipped the tag onto twine that has some sparkly silver threads in it and wrapped that twine with a ribbon foliage twine that I had on hand. I hot glued the twine to the jar to hold everything in place. Then I chose the stone or crystal that had similar properties as the herb it would be hanging out with, and hot glued the corresponding stones/crystals to each cork lid. The jars needed a little more fairy dust, so I added FolkArt Glitterific Paint in Evergreen and Purple to each tag. |
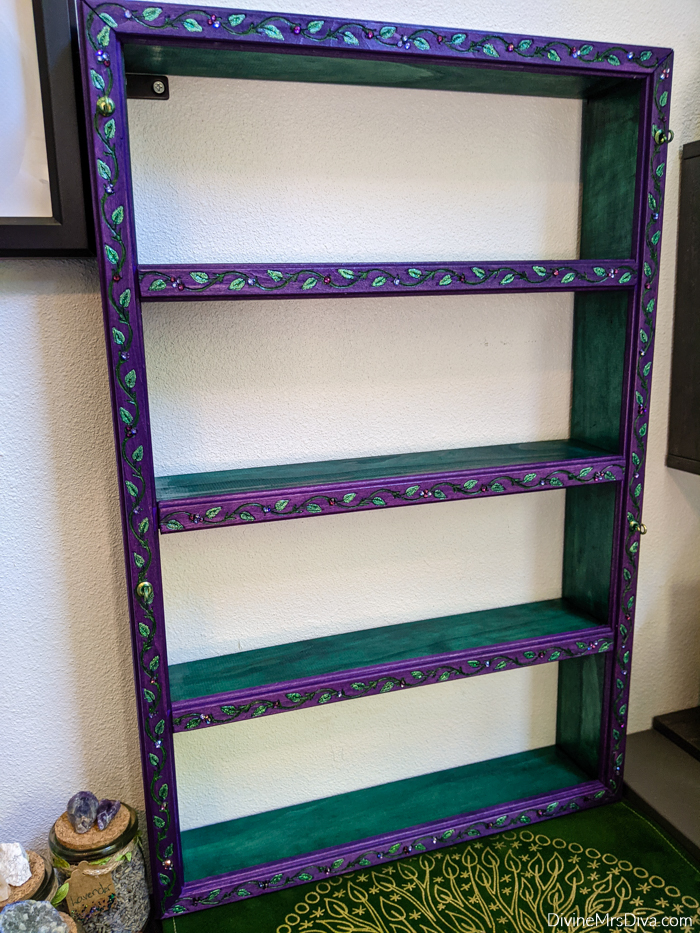 |
| Sean anchored the shelf to the wall with a bracket just to be safe. |
 |
| Here is my finished shelf, complete with alphabetized herbs, dried thyme and rosemary, and a little rainbow tea spoon (with the ribbon foliage twine) to use as a scoop. |
 |
| I love the look and organization this little shelf adds to my space. It was fun to make it with Sean and get his help in realizing this thing I imagined in my head! |
Have you worked on any home projects, DIY, or arts and crafts while you've had some downtime? What has been your most favorite project?




No comments